They are the least noticed part but play the most important part – the door gasket. The door gasket, or the door seal as they are sometimes called,
Before removing the old gasket, be sure to order a replacement door gasket model #W11036546 for your Maytag refrigerator. Even if your faulty gasket isn’t doing a great job now, it is doing a better job keeping things cold than no gasket at all
To remove the old gasket, you need to lift the edges of the seal to reveal the securing screws behind it. Using a Phillips screwdriver, remove each of these screws. Once the screws are removed, the plastic door shelving cover will pop off and the gasket can be removed
When installing the new door gasket, you will first want to heat it up slightly with a blow dryer so it is more pliable and any creases that came from packaging are removed. You will want to line the new gasket up with the old holes and secure them. It may be a job for more than one set of hands to keep the gasket lined up
How to Clear E24 Error on Bosch Dishwasher

Samsung Dryer Not Heating Properly? (5 Fixes)
Why Is Your Mini Fridge Not Cooling? (5 Potential Reasons)
How to Fix Samsung Washer Error Code 4C
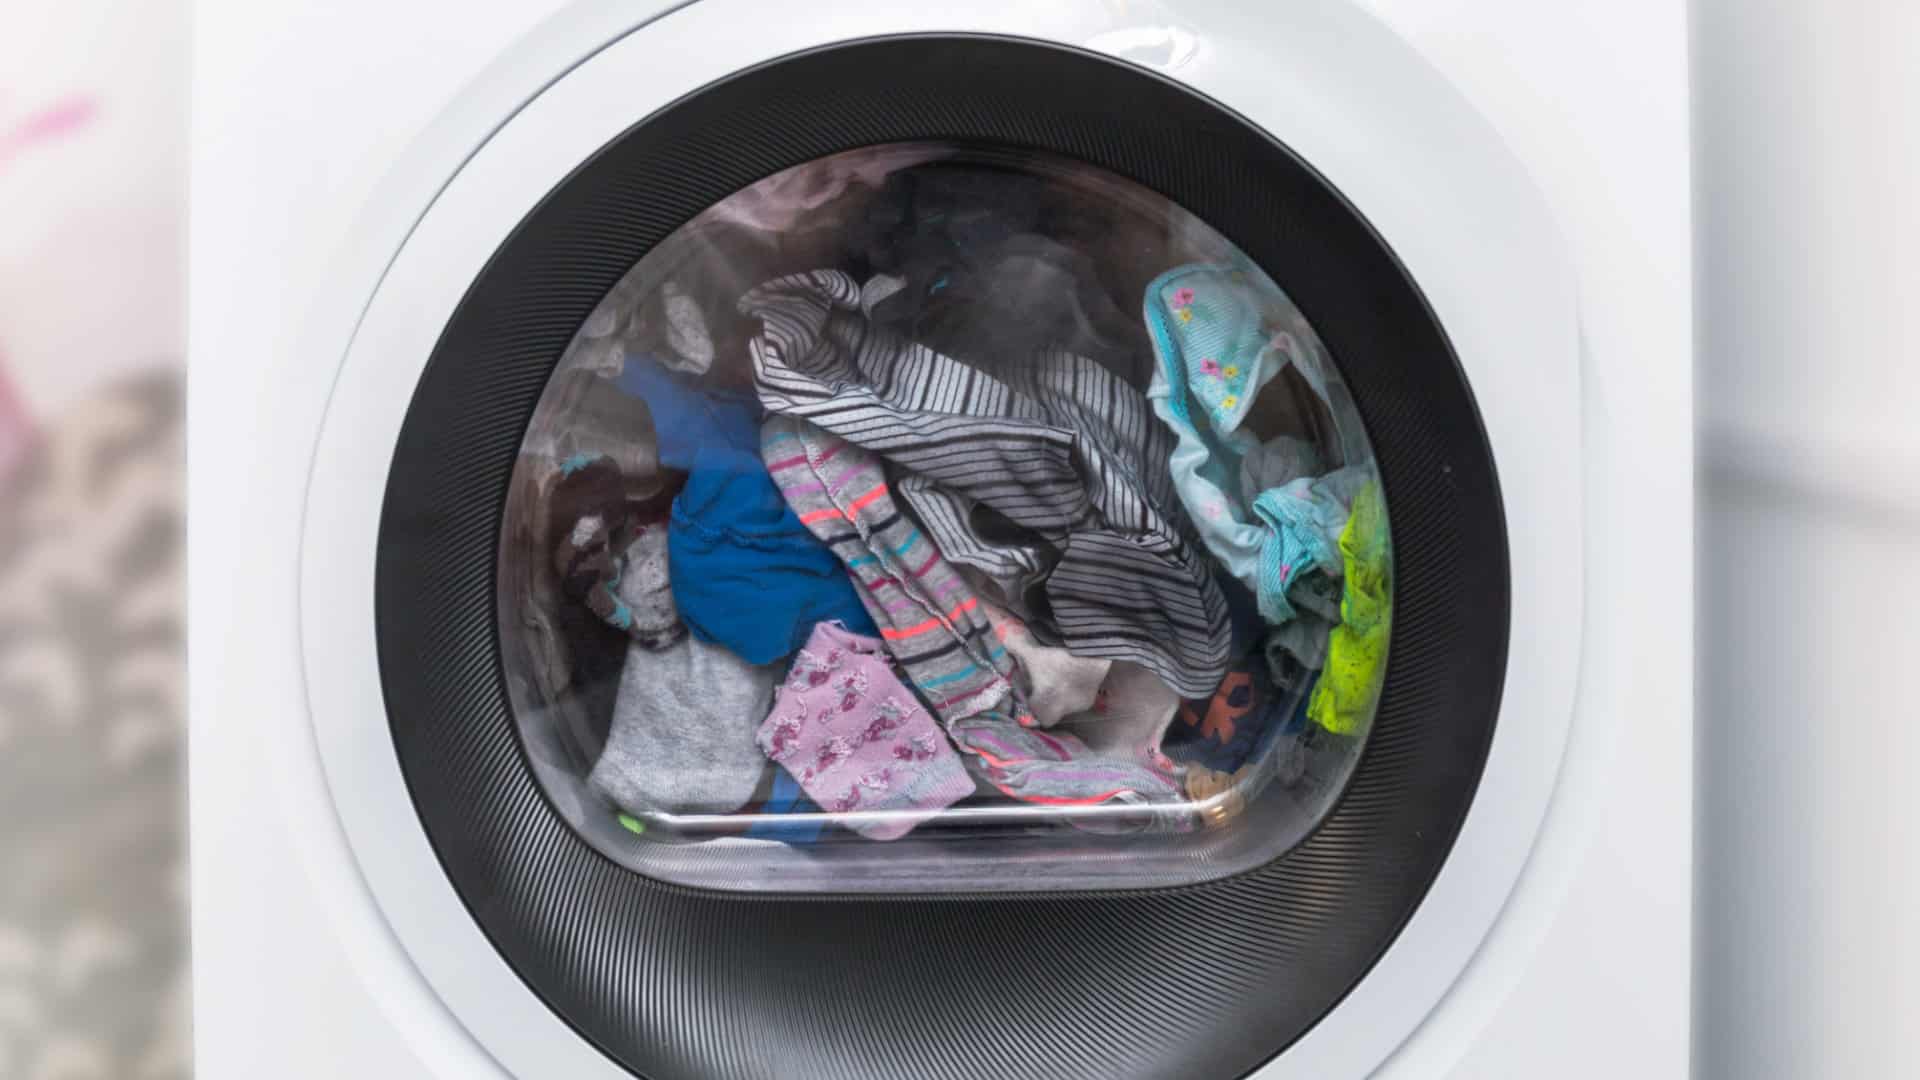
How to Resolve UE Error Code on your LG Washer
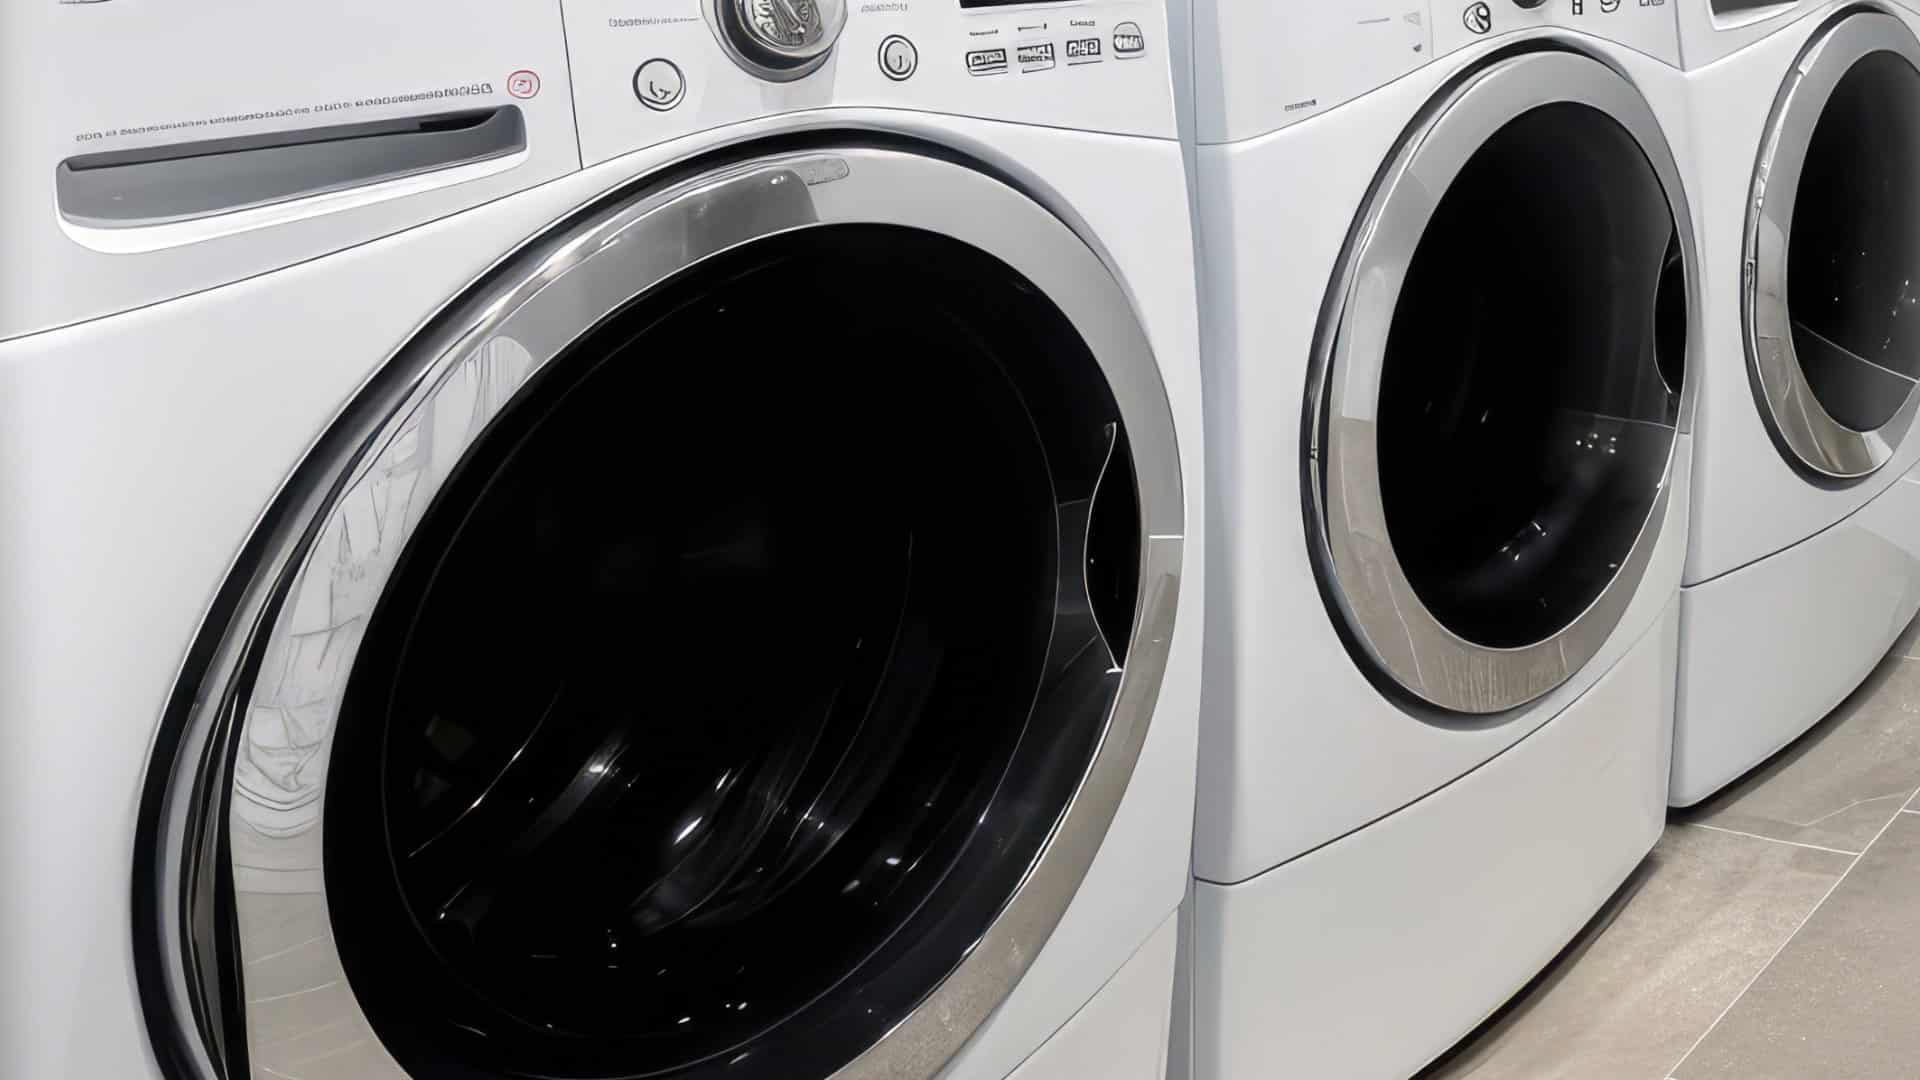
LG Washing Machine Error Codes: How to Fix Them
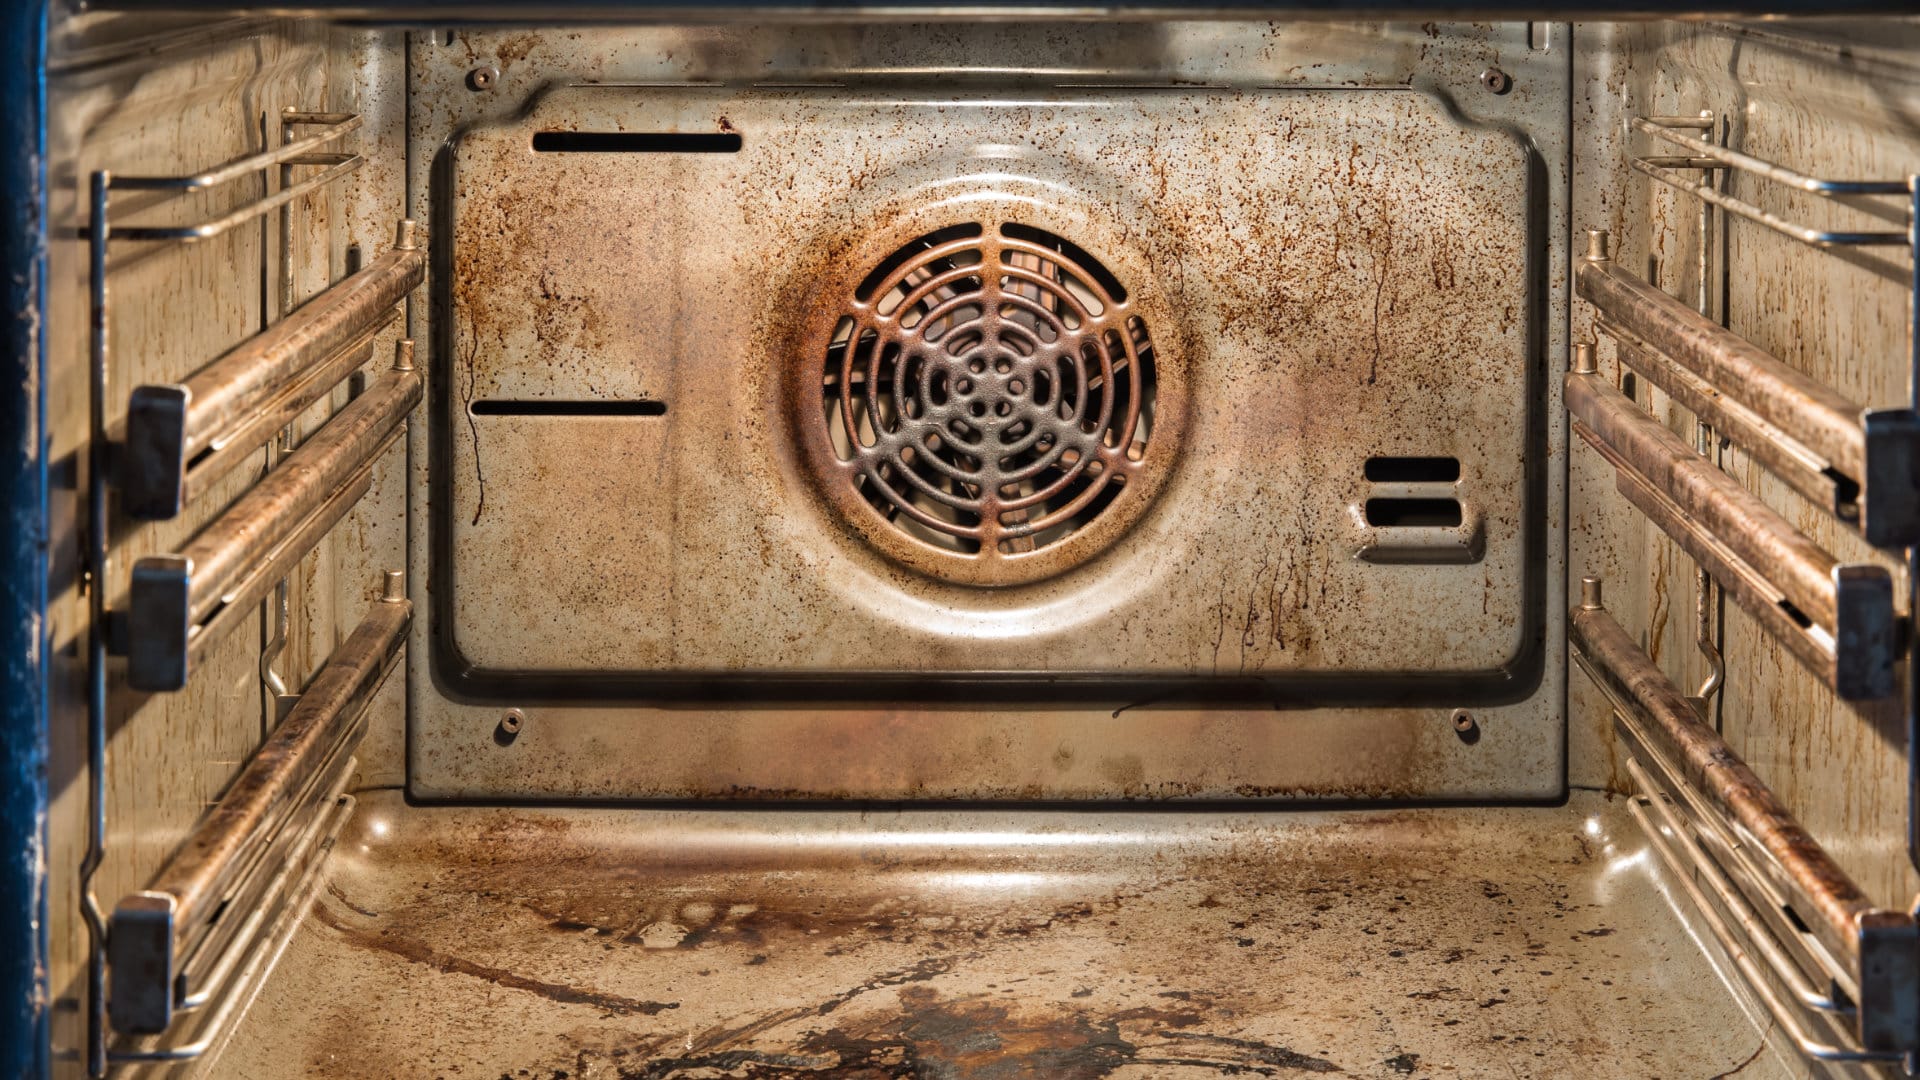
How to Unlock LG Oven Door (After Self-Cleaning)
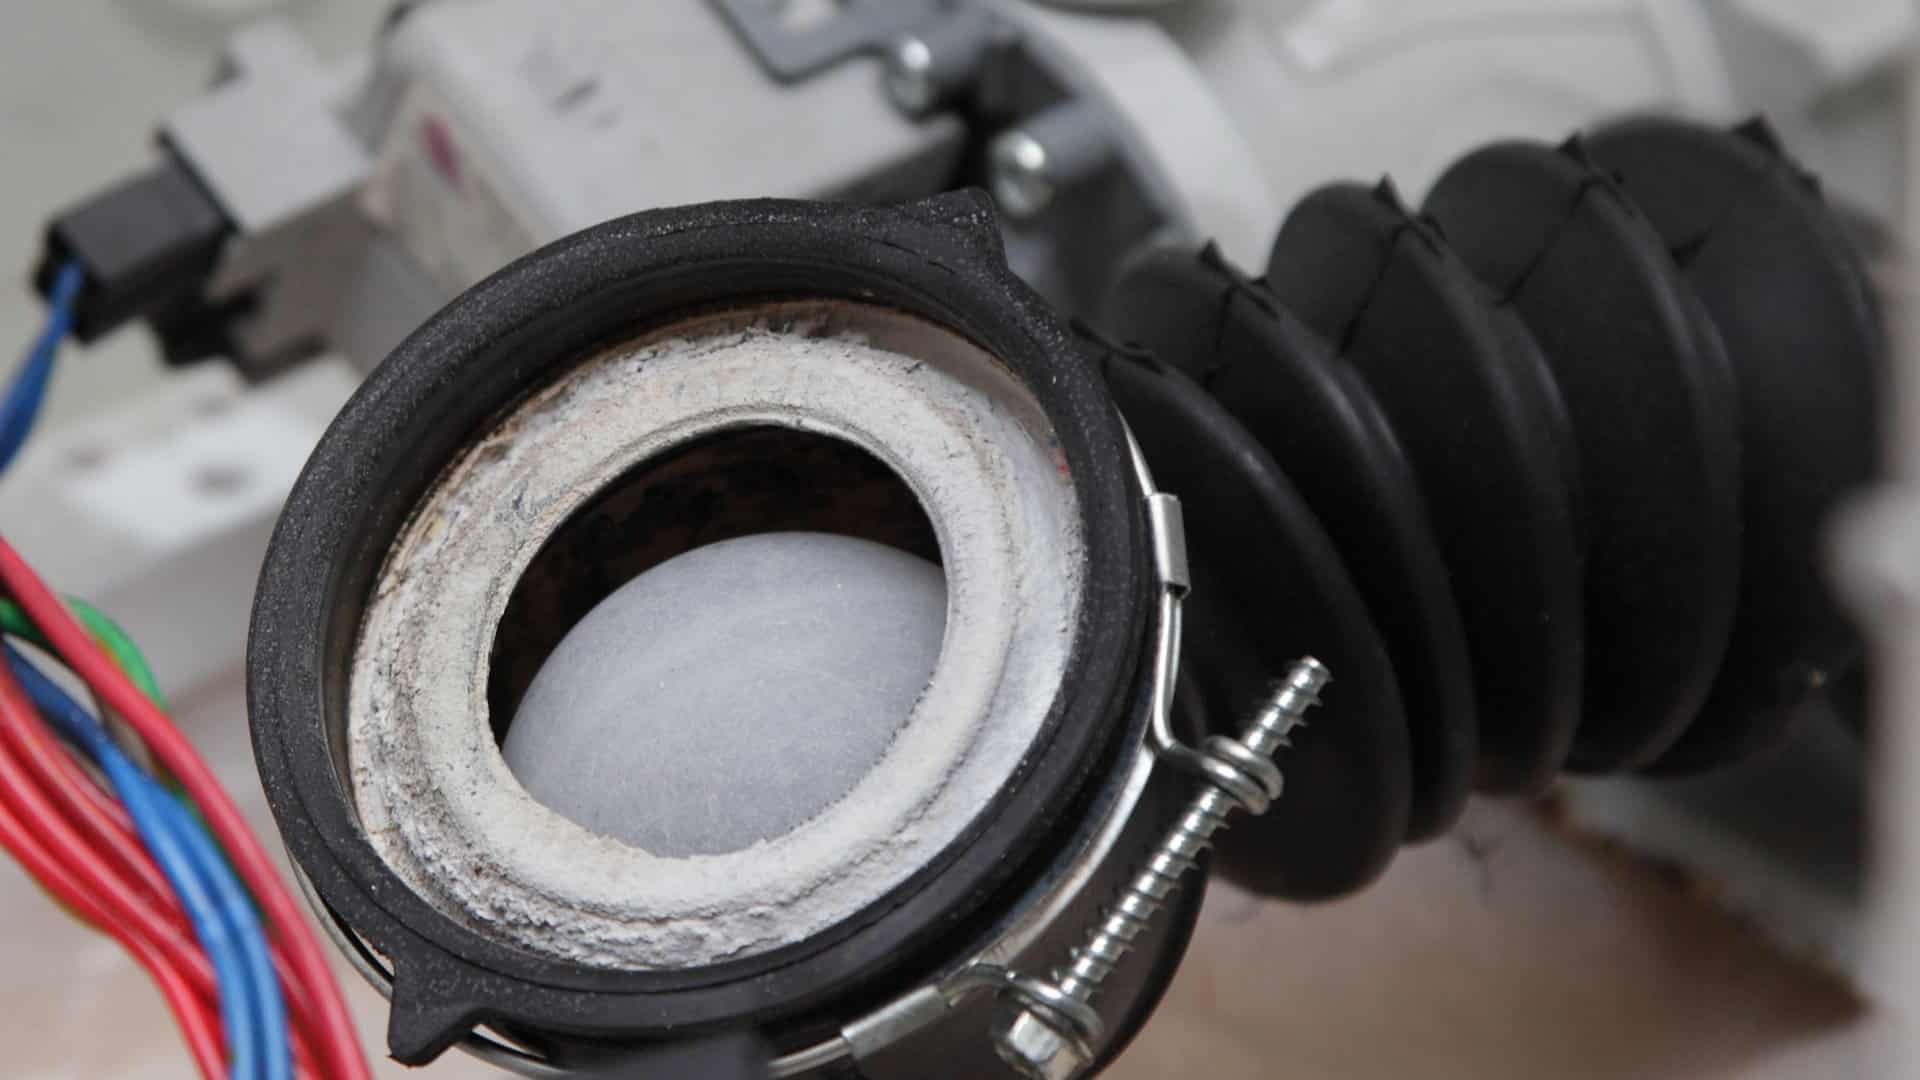
How to Fix LG Washer DE Error Code

Why Your Microwave Is Not Working
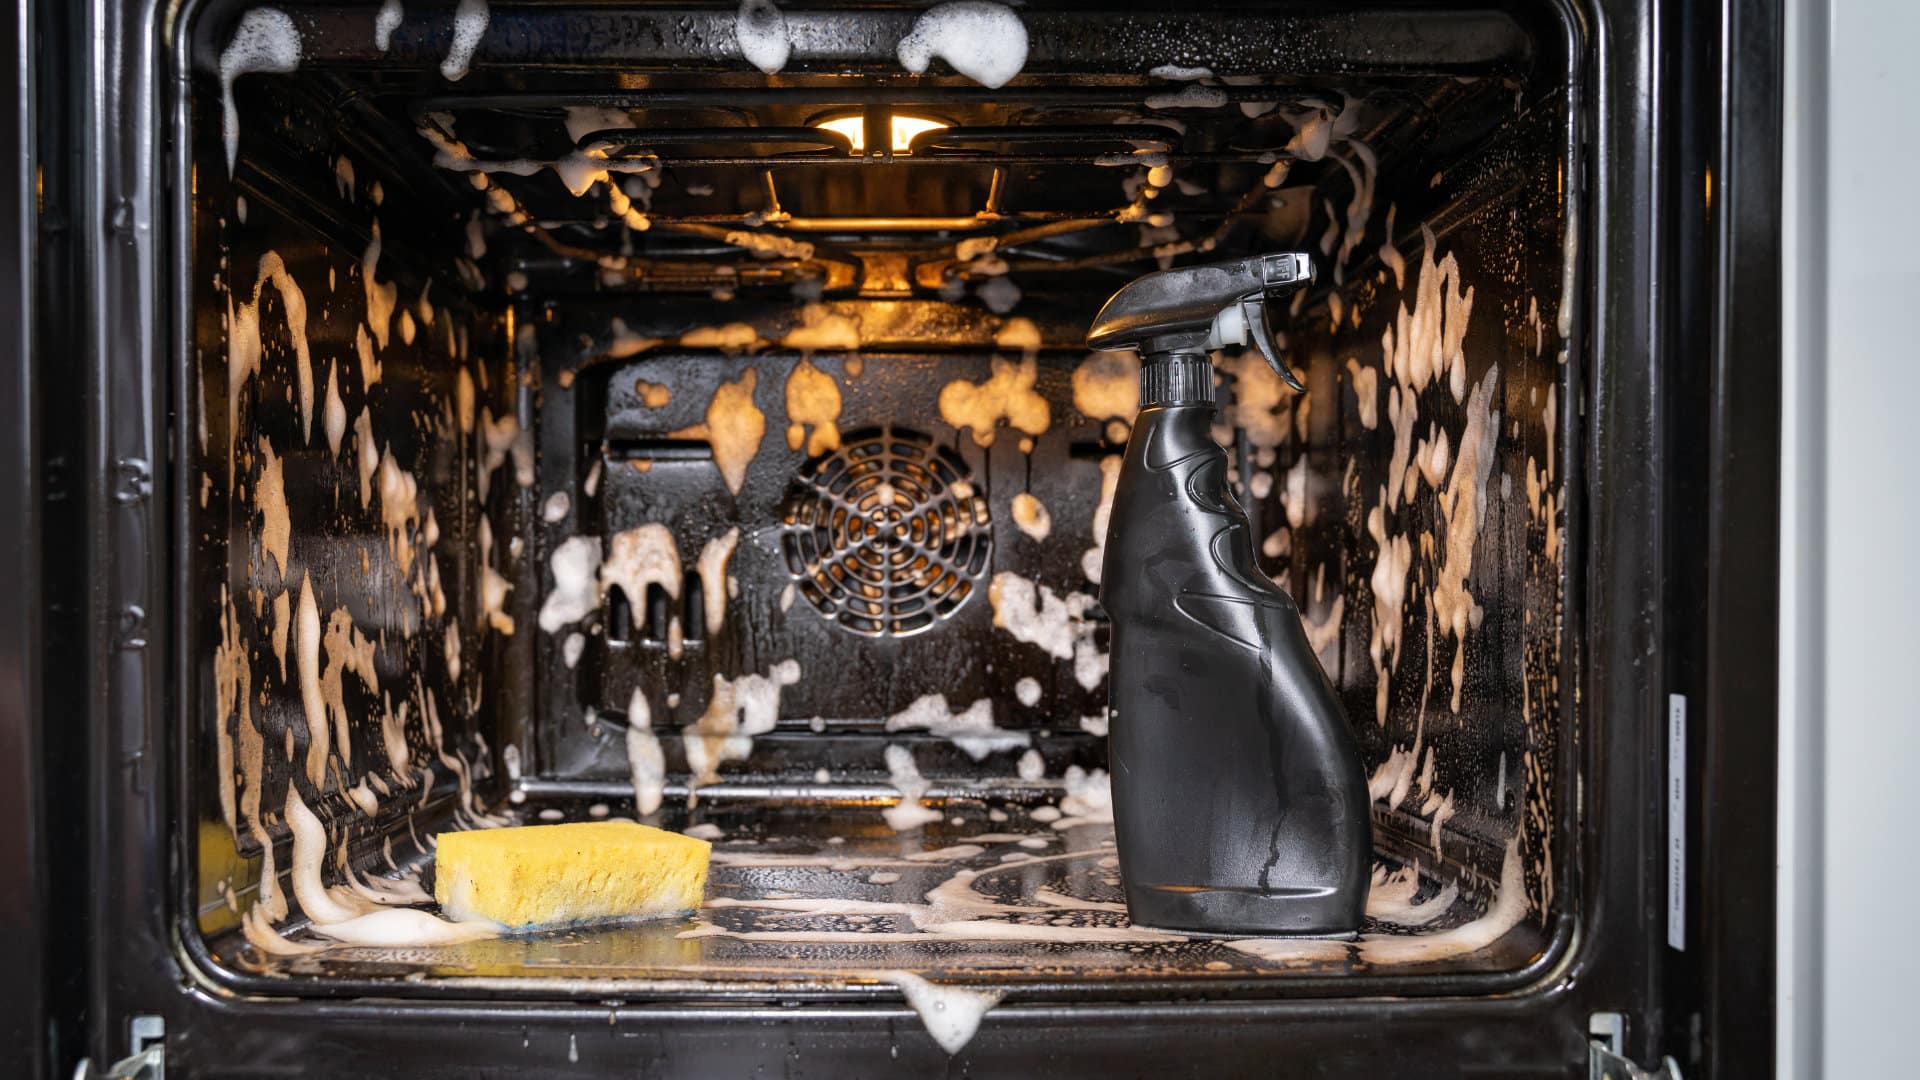
The Quick Guide To Using a GE Self-Cleaning Oven

How to Clean Your Dishwasher with Vinegar
How to Fix a Noisy Refrigerator
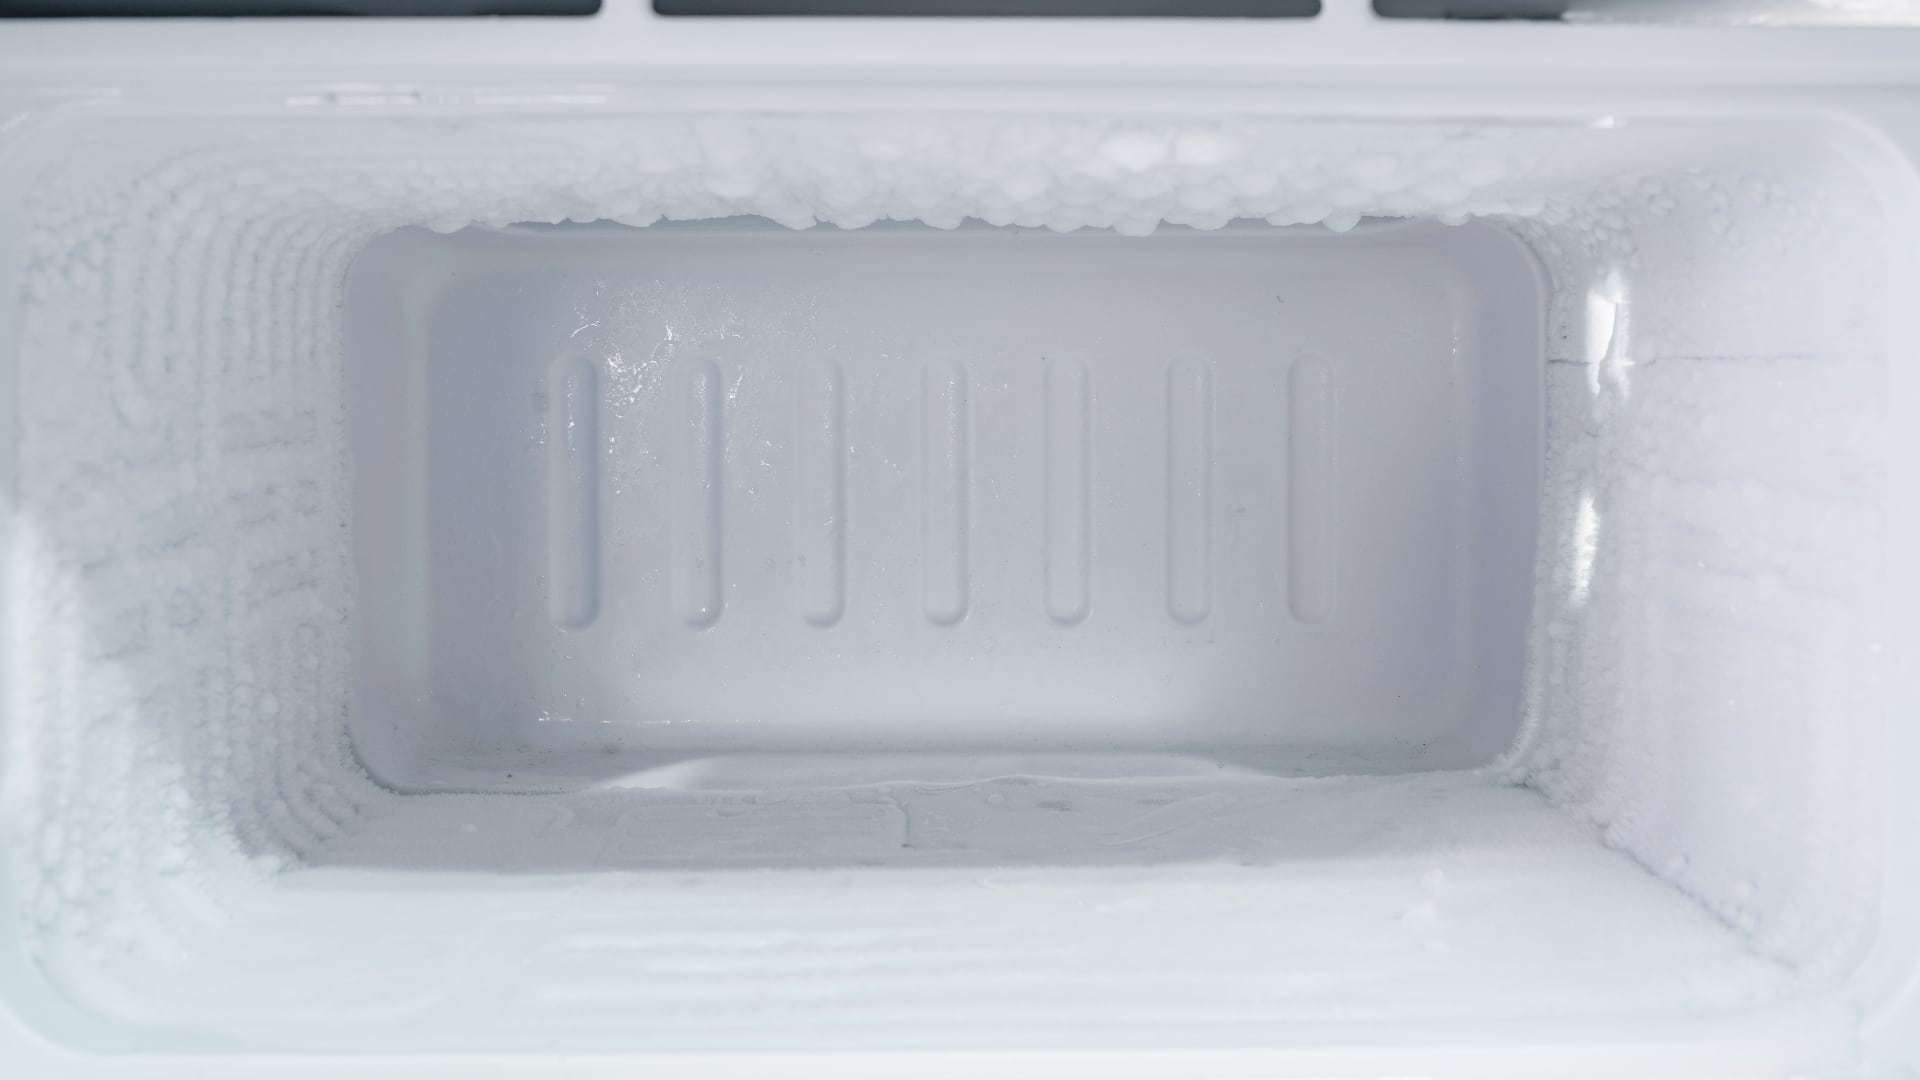
How to Remove Frost Build-up from the Freezer

5 Ways To Clean Your Microwave Naturally
