

February 11, 2019
Dryer Repair
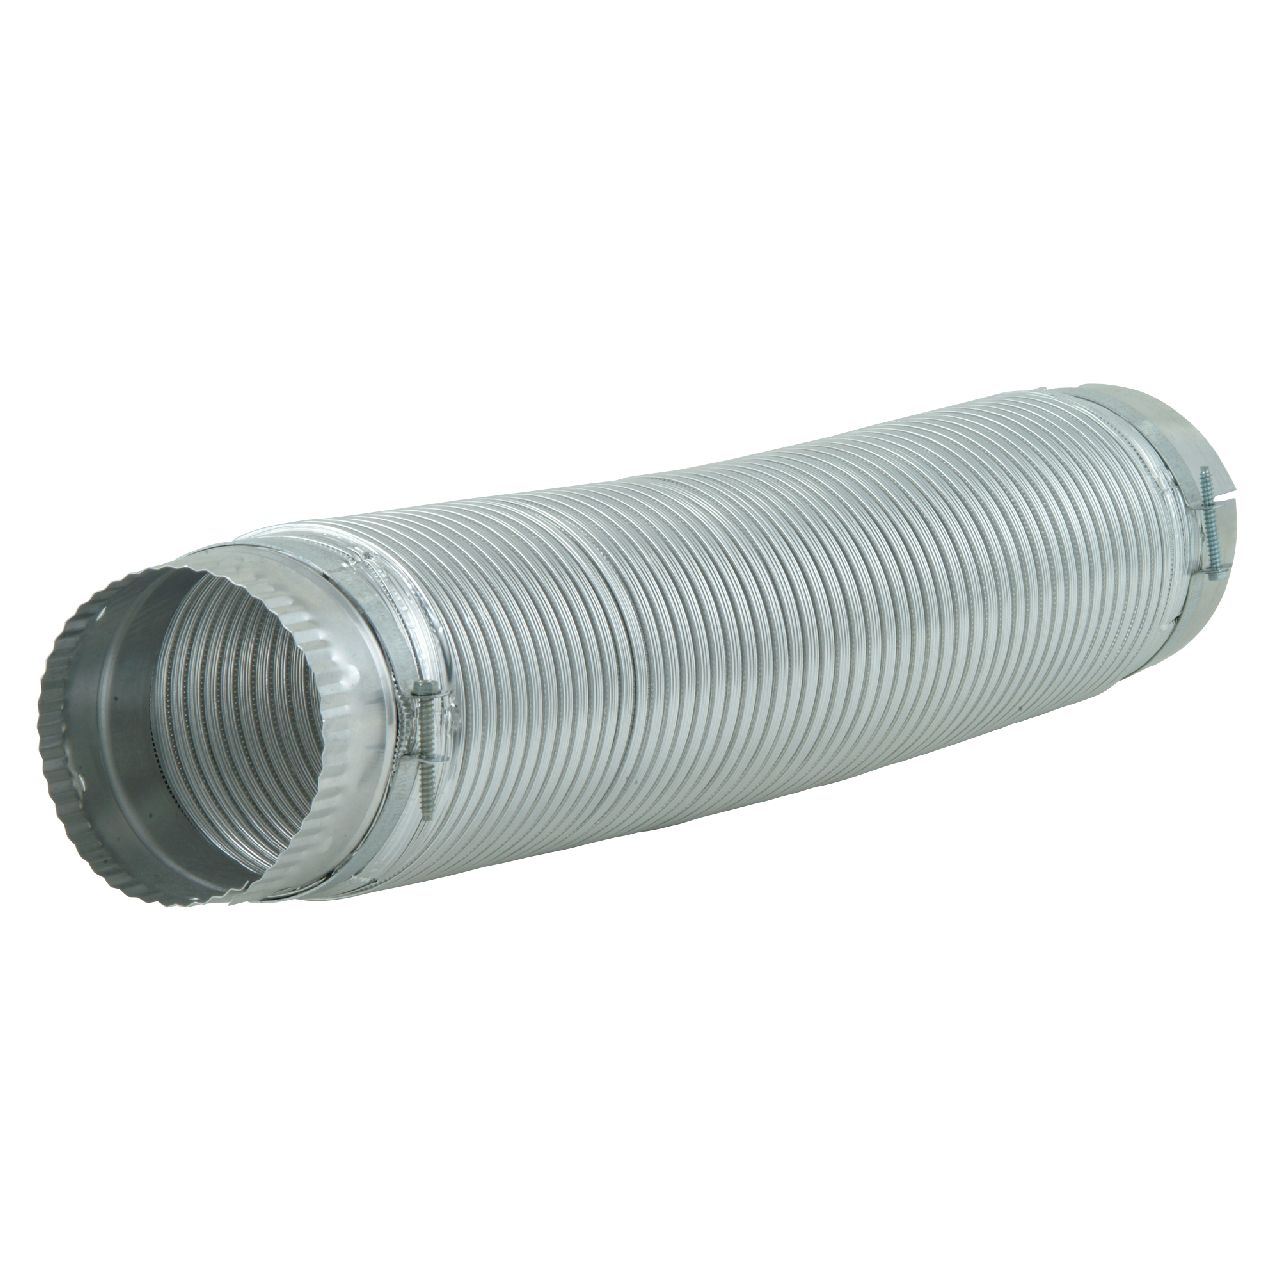
For most dryers, the actual vent of the dryer and the venting system installed in your home is connected by an aluminum hose. As this hose ages, it can become crushed or even damaged with holes in the structure. When this happens, it
- A replacement hose (this should come with the necessary hose clamp as well)
- A screwdriver
- A utility knife
- Foil duct tape (Do not replace this with any sort of paper or plastic tape as it can be a fire hazard)
Replacing the Hose
Start by turning off the dryer’s power and closing the gas valve if it is a gas dryer. After removing it from the wall to access the hose, loosen the screws on the hose clamps on both the connection to the dryer and the wall. The hose should now slide off. However, if it is already taped, be sure to cut the tape first and not yank it away
Carefully unwind your new exhaust hose and be very careful not to bend or squeeze it too much, this may damage it and cause the same problems as your old hose

Apr. 09, 2024
How to Clear E24 Error on Bosch Dishwasher

Mar. 06, 2024
Samsung Dryer Not Heating Properly? (5 Fixes)

Feb. 05, 2024
Why Is Your Mini Fridge Not Cooling? (5 Potential Reasons)

Jan. 03, 2024
How to Fix Samsung Washer Error Code 4C

Dec. 11, 2023
How to Resolve UE Error Code on your LG Washer

Nov. 06, 2023
LG Washing Machine Error Codes: How to Fix Them

Oct. 02, 2023
How to Unlock LG Oven Door (After Self-Cleaning)

Sep. 08, 2023
How to Fix LG Washer DE Error Code

Jul. 31, 2023
Why Your Microwave Is Not Working

Jul. 19, 2023
The Quick Guide To Using a GE Self-Cleaning Oven

Jun. 13, 2023
How to Clean Your Dishwasher with Vinegar

May. 08, 2023
How to Fix a Noisy Refrigerator

Apr. 10, 2023
How to Remove Frost Build-up from the Freezer

Mar. 14, 2023
5 Ways To Clean Your Microwave Naturally

Feb. 01, 2023