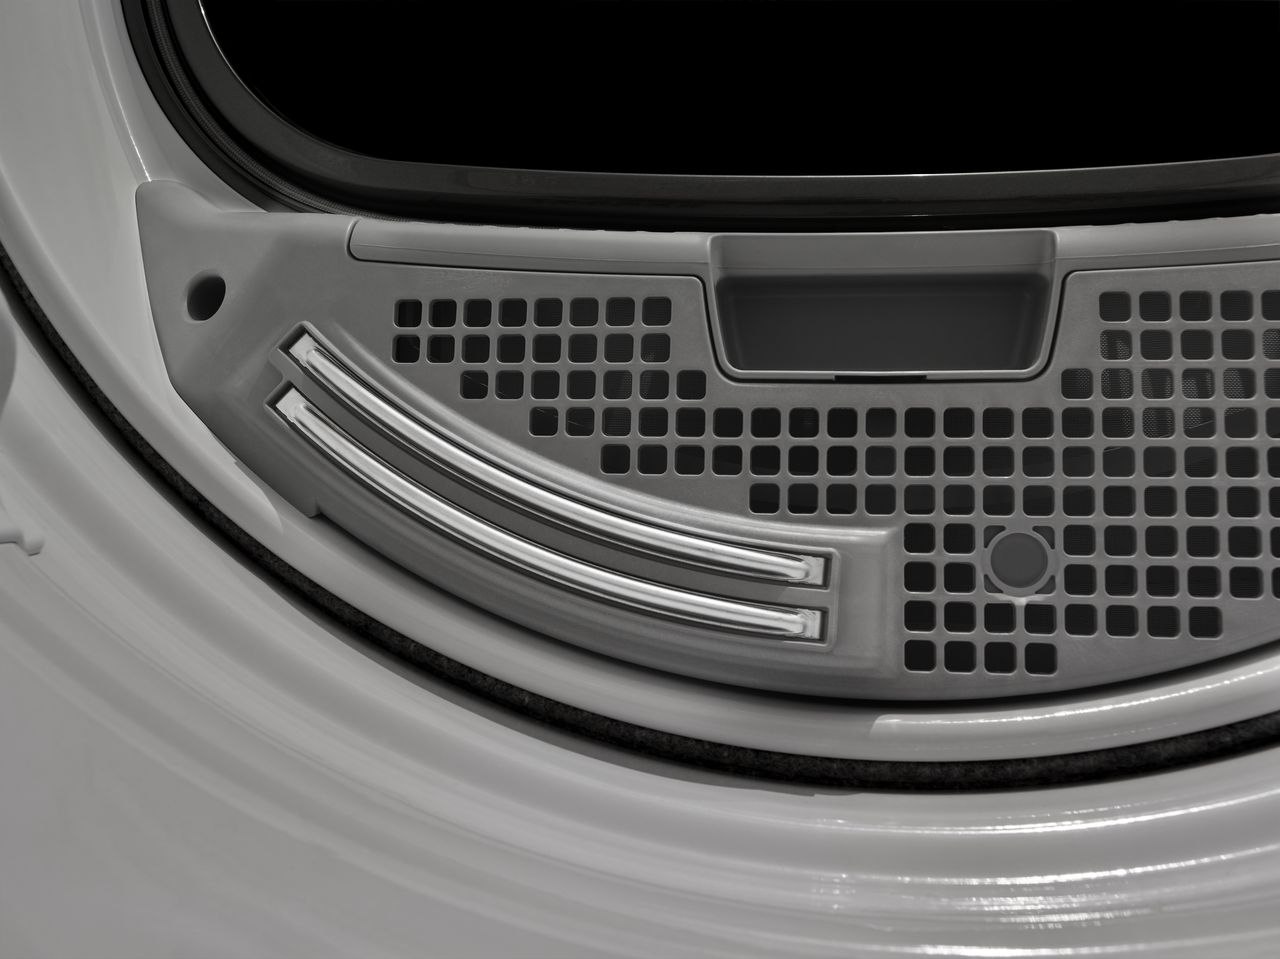
If your dryer has an automatic dry function, then it uses moisture sensors inside the dryer tub to sense how wet your clothes are. When the clothing hits these sensors, it will detect how moist they are and adjust the time accordingly. However, if these moisture sensors are faulty then they can cause the dryer to end the dry cycle after a few minutes or to run a dry cycle indefinitely. If this is your problem, here is how to replace these moisture sensors.
Replacing Moisture Sensors in a Dryer
You will want to start by unplugging the dryer. You will also need plenty of room to disassemble the dryer, so you may wish to pull it out so you have full access to it. Once done, you will want to move to the rear to remove the two nuts that secure the top panel. Once done, remove the top panel.
Now you will want to disconnect the wire harness to the control panel and remove the screws securing it. Lift the control panel out and set it aside. Once the control panel is removed, you will need to remove the front panel of the dryer.
You will now have access to the moisture sensor. This sensor is located on the front bulkhead of your dryer and it is secured by a single screw to the drum with a wire harness attached. Unplug the wire harness, unthread the screw, and you can pull the moisture sensor right out.
After positioning the new moisture sensor, secure the screw and reattach the wire harness. You will now want to reassemble your dryer and plug it back in. You will next need to run a test dry. Unfortunately, it requires a rather large amount of wet cloth to test accurately. So you may need to wait until it is time to do your next load of laundry.
How to Clear E24 Error on Bosch Dishwasher

Samsung Dryer Not Heating Properly? (5 Fixes)
Why Is Your Mini Fridge Not Cooling? (5 Potential Reasons)
How to Fix Samsung Washer Error Code 4C
How to Resolve UE Error Code on your LG Washer
LG Washing Machine Error Codes: How to Fix Them
How to Unlock LG Oven Door (After Self-Cleaning)
How to Fix LG Washer DE Error Code
Why Your Microwave Is Not Working
The Quick Guide To Using a GE Self-Cleaning Oven

How to Clean Your Dishwasher with Vinegar
How to Fix a Noisy Refrigerator
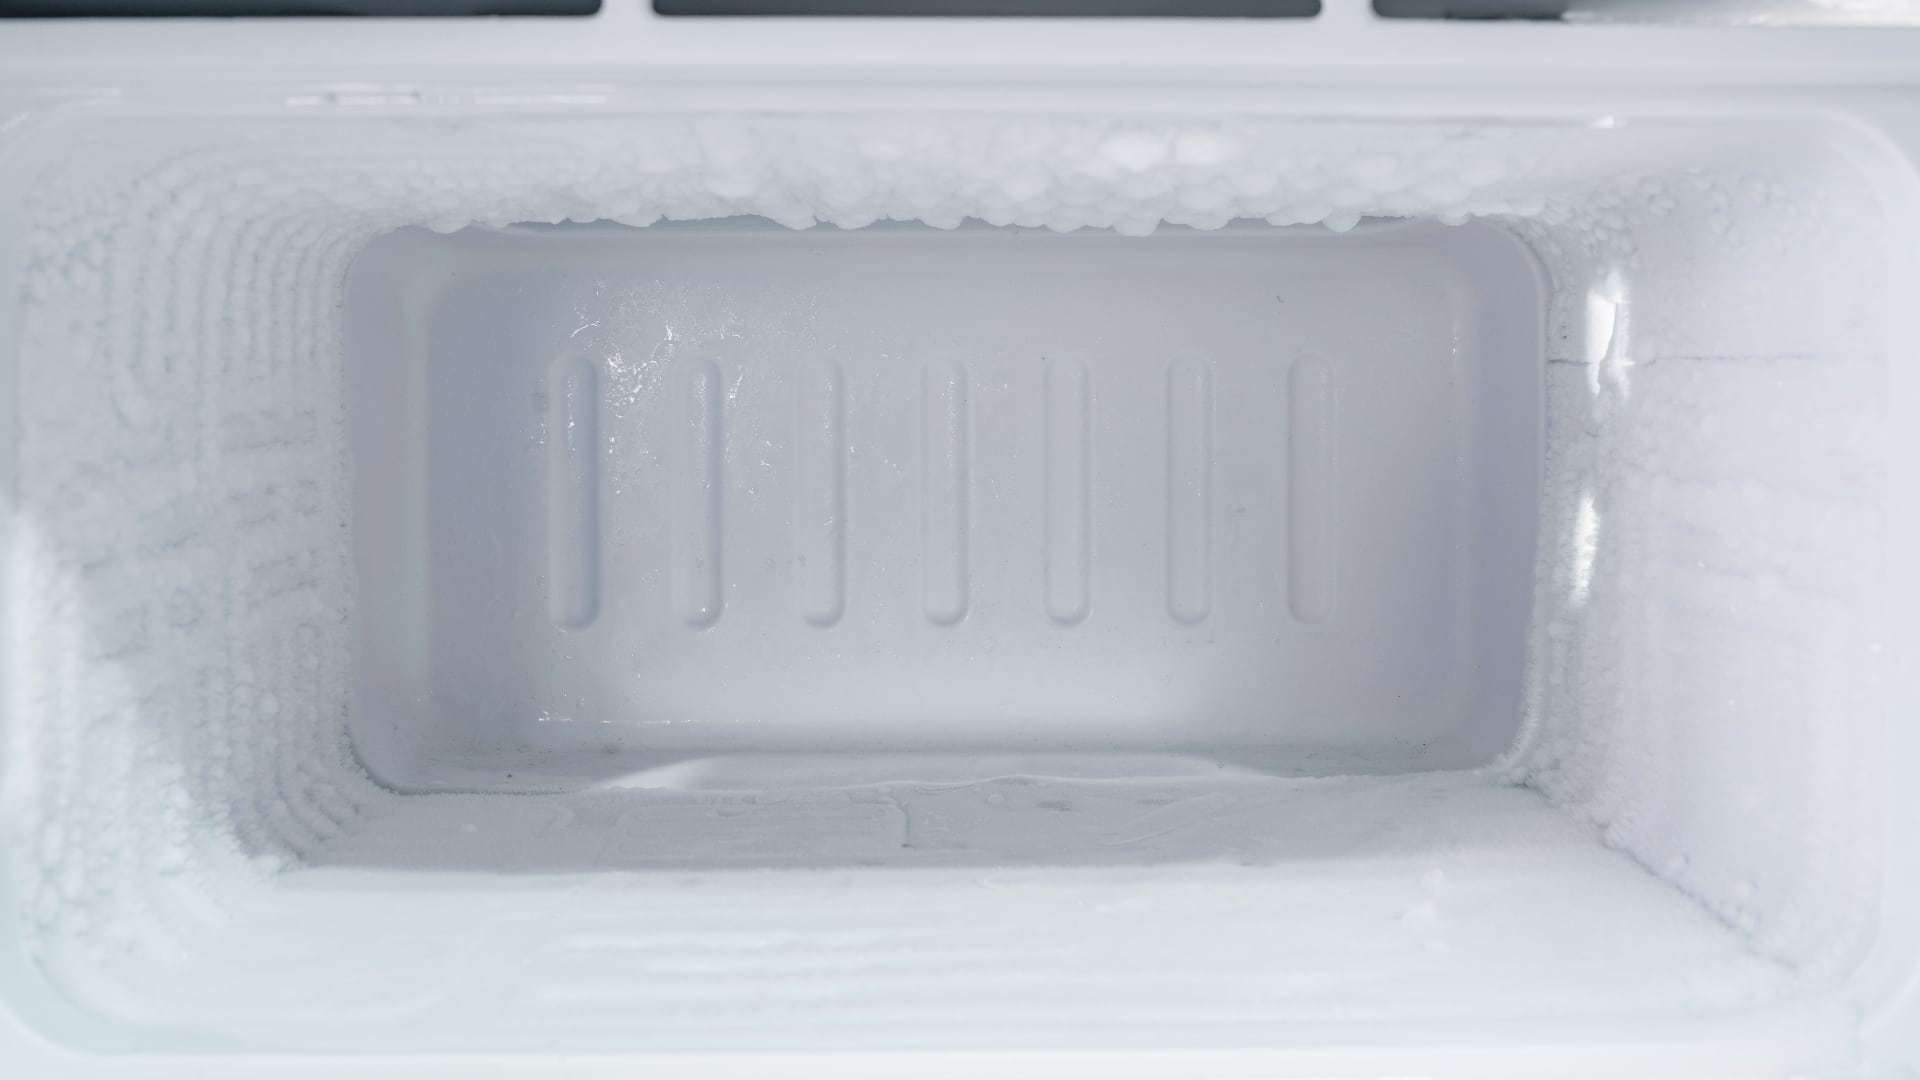
How to Remove Frost Build-up from the Freezer

5 Ways To Clean Your Microwave Naturally
