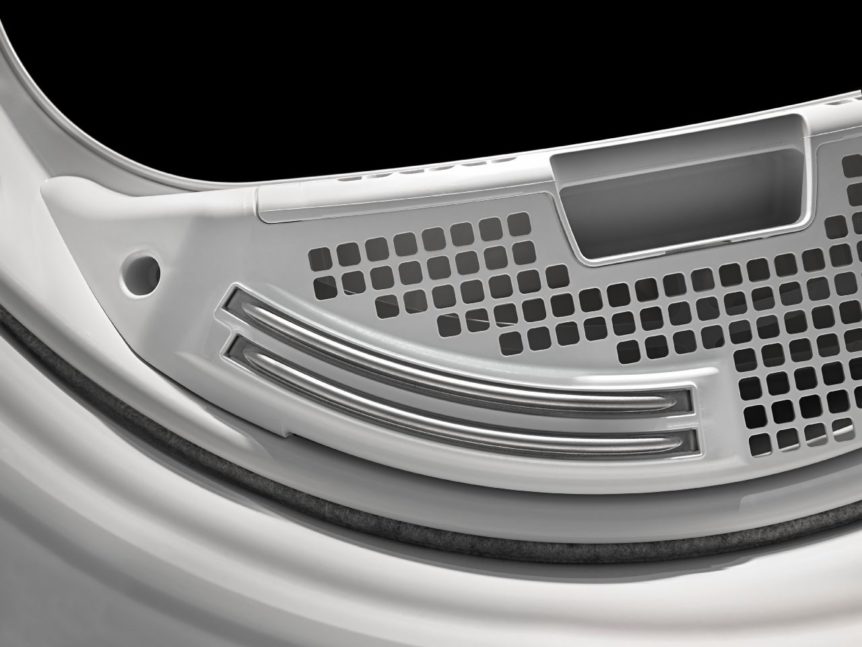
The moisture sensor bar in your front load Whirlpool dryer model GGW9250PW2 detects the moisture in your clothing. When your clothes are no longer wet, the sensor sends a signal to the dryer’s electronic control board indicating it’s time to turn off the appliance. If your dryer is turning off before the clothes inside of it are dry, the moisture sensor bar is either dirty or no longer functioning properly. Before you decide to replace the sensor, we suggest cleaning the part to rid it of fabric softener build-up, lint, and other types of debris. You can do this by wiping down the sensor with rubbing alcohol. Once the part is clean, test your appliance to see if you’ve solved its drying issue. If you haven’t, it’s time to replace the moisture sensor bar.
Dryer Repair Safety Tips
- Always start a dryer repair by unplugging the appliance and turning off its gas supply.
- Work gloves and safety goggles should be worn at all times to protect your hands and eyes from any sharp objects.
- If you don’t feel comfortable repairing your dryer, please contact an appliance repair technician to complete the replacement process.
How to Replace the Moisture Sensor Bar in Your Front Load Whirlpool Dryer
- Open your dryer door and pull out the lint screen.
- Using a Phillips screwdriver, unthread the screws on the front of the lint screen housing and the screws inside the dryer drum that hold the housing in place.
- Once all the screws are out, pull the lint screen housing off the dryer and disconnect the moisture sensor bar wires that run to the back of the housing. Take note of which wire is on top and which is on the bottom.
- Remove the lint screen housing from the dryer, and place it on a flat surface. Using a pair of needle nose pliers, push on the sensor bar tab that locks the sensor into the lint screen housing. Then, turn the housing over and pull the sensor off the lint screen housing.
- With the malfunctioning sensor out of the way, you can install the new sensor. To do so, simply push the new moisture sensor into the indentation in the lint screen housing.
- Carry the lint screen housing back to your dryer and reconnect the moisture sensor bar wires, and then reinstall the lint screen housing. Once the part is secure, slide the dryer’s lint screen back into its housing.
- To finish your repair, plug-in your dryer and turn on its gas supply.
If replacing the moisture sensor bar did not fix your dryer’s issue, please contact us today and we’ll be happy to help diagnose and repair your appliance.
How to Clear E24 Error on Bosch Dishwasher

Samsung Dryer Not Heating Properly? (5 Fixes)
Why Is Your Mini Fridge Not Cooling? (5 Potential Reasons)
How to Fix Samsung Washer Error Code 4C
How to Resolve UE Error Code on your LG Washer
LG Washing Machine Error Codes: How to Fix Them
How to Unlock LG Oven Door (After Self-Cleaning)
How to Fix LG Washer DE Error Code
Why Your Microwave Is Not Working
The Quick Guide To Using a GE Self-Cleaning Oven

How to Clean Your Dishwasher with Vinegar
How to Fix a Noisy Refrigerator
How to Remove Frost Build-up from the Freezer

5 Ways To Clean Your Microwave Naturally
