

September 23, 2019
Refrigerator Repair
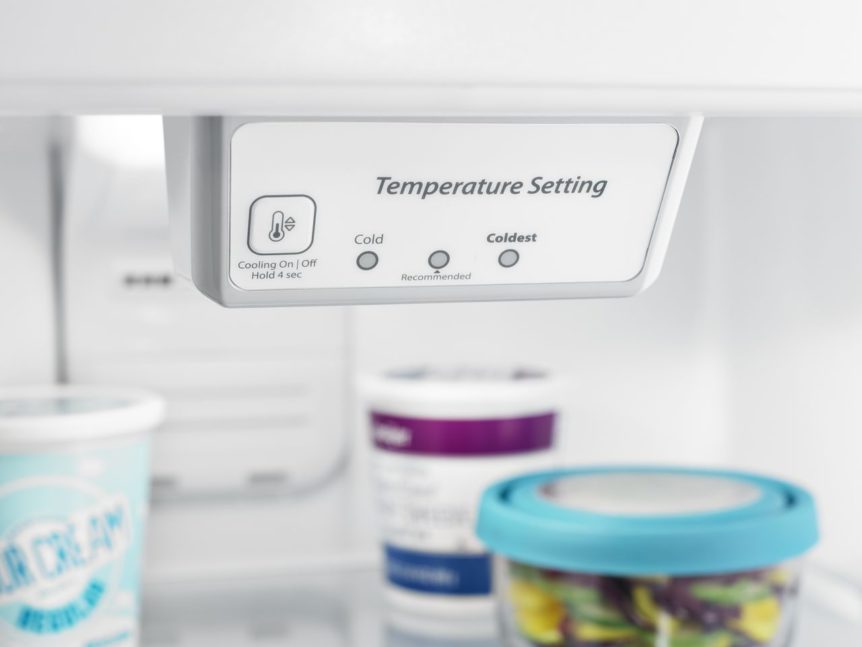
All modern refrigerators now come with a built-in timer that turns on the defrost. This melts the frost on the evaporator and prevents it from building up inside the actual appliance. However, if you notice that frost is starting to build up, then a malfunction may be happening not with the entire defrost system, but with the timer. If you suspect that the defrost timer isn’t working, here is how to test it to find out conclusively.
Be sure to unplug the refrigerator before working on any electrical components.
In most top freezer models that use a mechanical based defrost timer, the defrost timer is located behind the temperature control. Secured by at least one screw, you can unthread that and pull the timer forward. You want to pull it forward just enough so that you can remove the wire connectors on the back.
Once the defrost timer is removed, it can now best tested with a multimeter. While there are other ways to measure function, this is by far the most conclusive. Furthermore, if it does prove that the timer is faulty, you already have it disconnected it so you can easily install a replacement as soon as you have it in hand.
With your multimeter, set it to the RX1 scale and place one tester on the 3 or C terminal. If not labeled, find the terminal that connects to the white wire. Touch the other lead to the remaining terminals one at a time. You should get two readings of zero and one infinity reading if the defrost time is working correctly. If you receive any other reading, then your defrost timer is faulty.
Testing your defrost timer is simple and so is replacing it. However, if that checks out, troubleshooting deeper into your defrost system can be difficult. If you need the help of a professional appliance repair technician, contact us today to see what we at Central Valley Appliance Repair can do to help.

Apr. 09, 2024
How to Clear E24 Error on Bosch Dishwasher

Mar. 06, 2024
Samsung Dryer Not Heating Properly? (5 Fixes)

Feb. 05, 2024
Why Is Your Mini Fridge Not Cooling? (5 Potential Reasons)

Jan. 03, 2024
How to Fix Samsung Washer Error Code 4C

Dec. 11, 2023
How to Resolve UE Error Code on your LG Washer

Nov. 06, 2023
LG Washing Machine Error Codes: How to Fix Them

Oct. 02, 2023
How to Unlock LG Oven Door (After Self-Cleaning)

Sep. 08, 2023
How to Fix LG Washer DE Error Code

Jul. 31, 2023
Why Your Microwave Is Not Working

Jul. 19, 2023
The Quick Guide To Using a GE Self-Cleaning Oven

Jun. 13, 2023
How to Clean Your Dishwasher with Vinegar

May. 08, 2023
How to Fix a Noisy Refrigerator

Apr. 10, 2023
How to Remove Frost Build-up from the Freezer

Mar. 14, 2023
5 Ways To Clean Your Microwave Naturally

Feb. 01, 2023