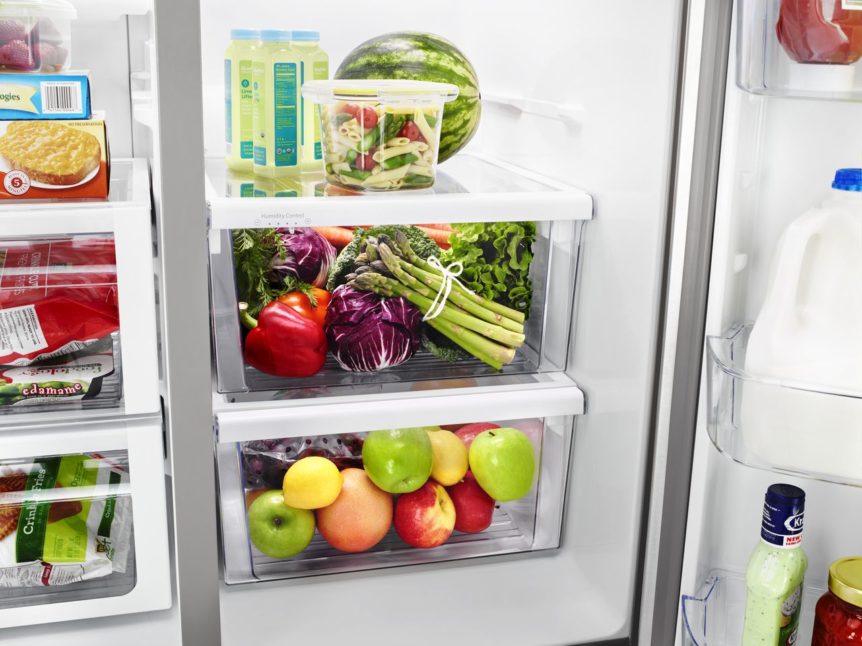
Your refrigerator’s main control board manages almost all of the functions. It keeps the temperature settings just right, stops the cycles from going too long, and even regulates the ice machine. If your main control board shorts out, you could be left with a refrigerator that doesn’t work right or doesn’t work at all. Order replacement part #WR55X10942P and follow these steps to get it installed.
1. Unplug the refrigerator.
Before you start any appliance repair, always unplug the appliance. This step is even more important when you need to handle electric components and wiring.
2. Remove the old control board.
First, remove the rectangular rear panel by loosening the two bolts and sliding the panel down. When you can see the control board, take a picture of the wires. You can use this as a guide when you connect the wires to the new part
3. Install the new main control board.
If you have an older model of refrigerator, the new board’s orientation of the green grounding wire might not be right for your refrigerator. Pry the wire free from the two terminals on the control board and switch the wire around so the grounding portion can reach the metal tab on the side of the refrigerator
Next, slide the bottom left corner of the control board into the corner tab and then press the top of the control board into place so the locking tab engages in the corner. After that, start to reconnect the wire harnesses. While many of the wire harnesses themselves are different sizes, use the picture you took earlier to ensure the wires are oriented in the correct direction. Once the two bottom and four top wire harnesses are reattached, position the end of the grounding wire against the closest screw hole for the access panel screw
Thread the screw for that particular position through the panel and the circular grounding wire cap. Tighten it against the back of the refrigerator. Hold the panel in place as you retighten the three remaining screws
Plug in your refrigerator and start for the refrigerator to start cooling at regular cycles
How to Clear E24 Error on Bosch Dishwasher

Samsung Dryer Not Heating Properly? (5 Fixes)
Why Is Your Mini Fridge Not Cooling? (5 Potential Reasons)
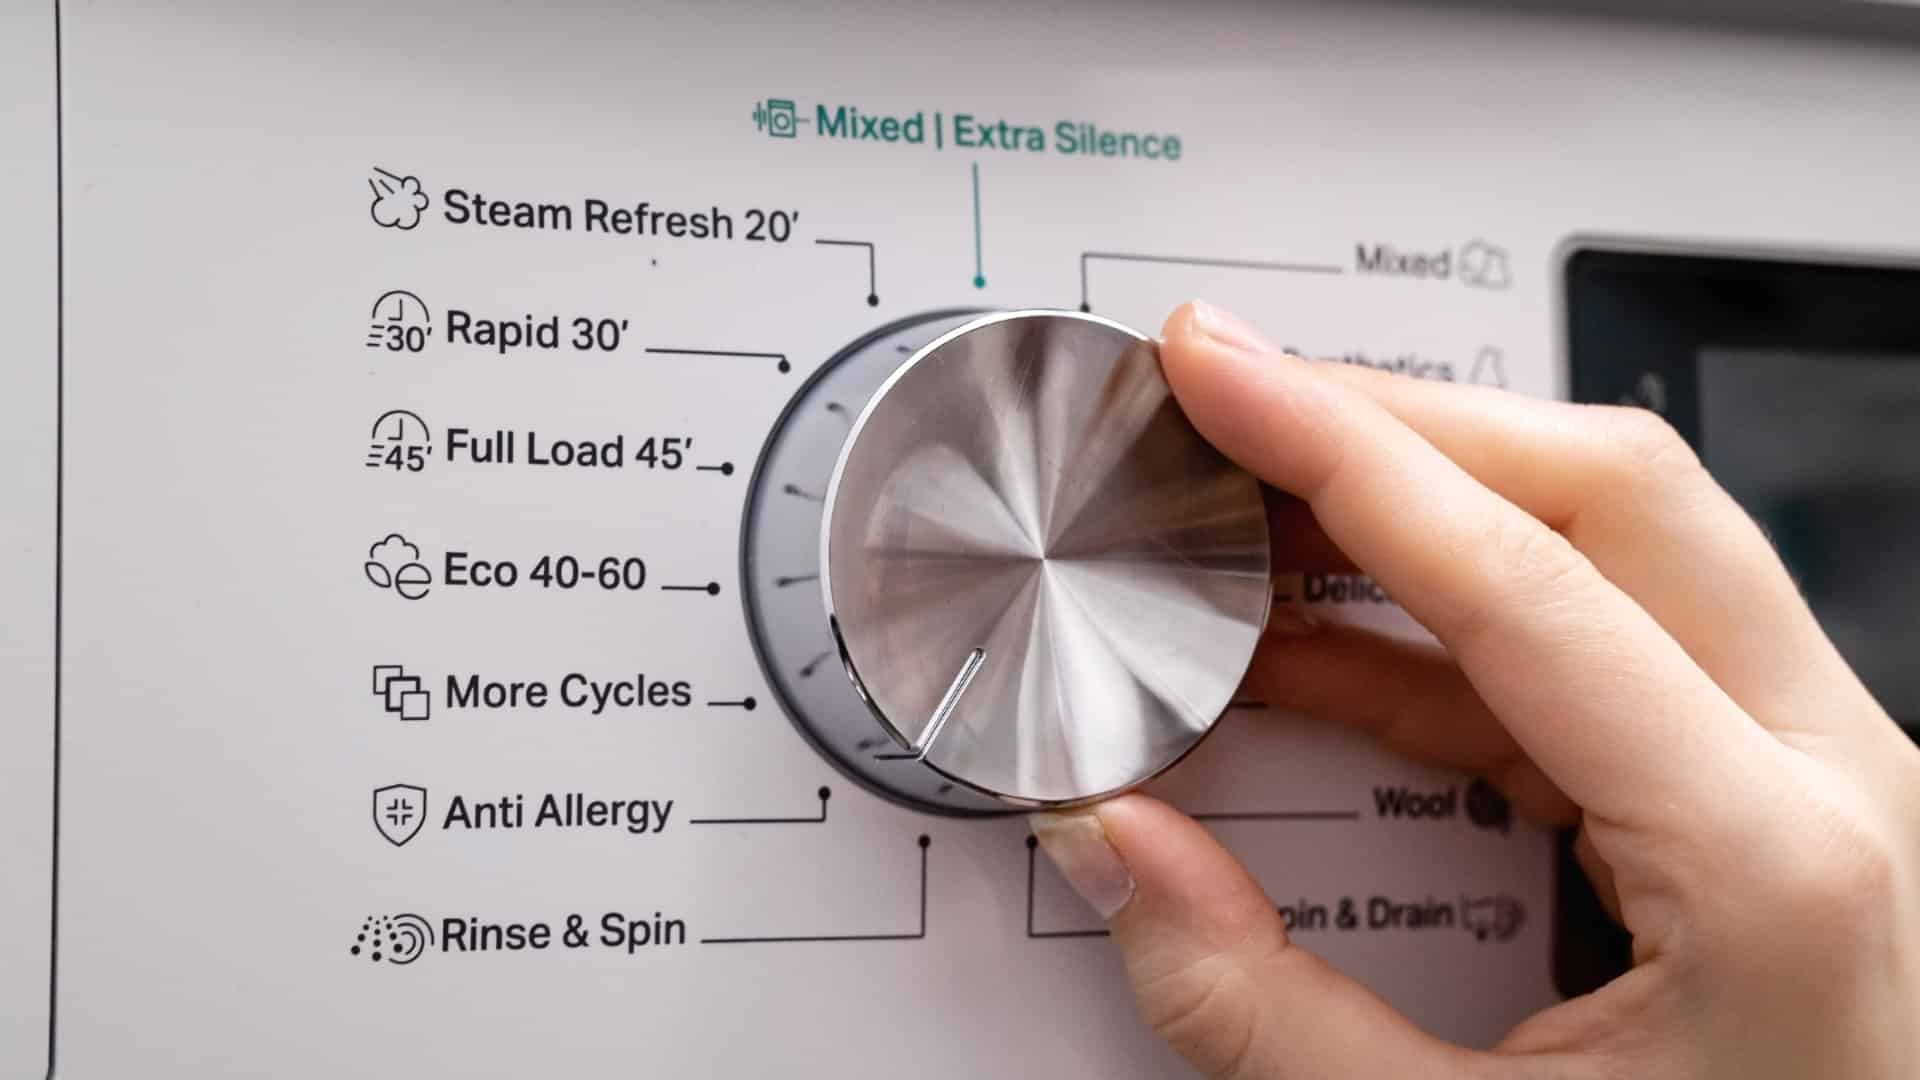
How to Fix Samsung Washer Error Code 4C
How to Resolve UE Error Code on your LG Washer
LG Washing Machine Error Codes: How to Fix Them
How to Unlock LG Oven Door (After Self-Cleaning)
How to Fix LG Washer DE Error Code
Why Your Microwave Is Not Working
The Quick Guide To Using a GE Self-Cleaning Oven

How to Clean Your Dishwasher with Vinegar
How to Fix a Noisy Refrigerator
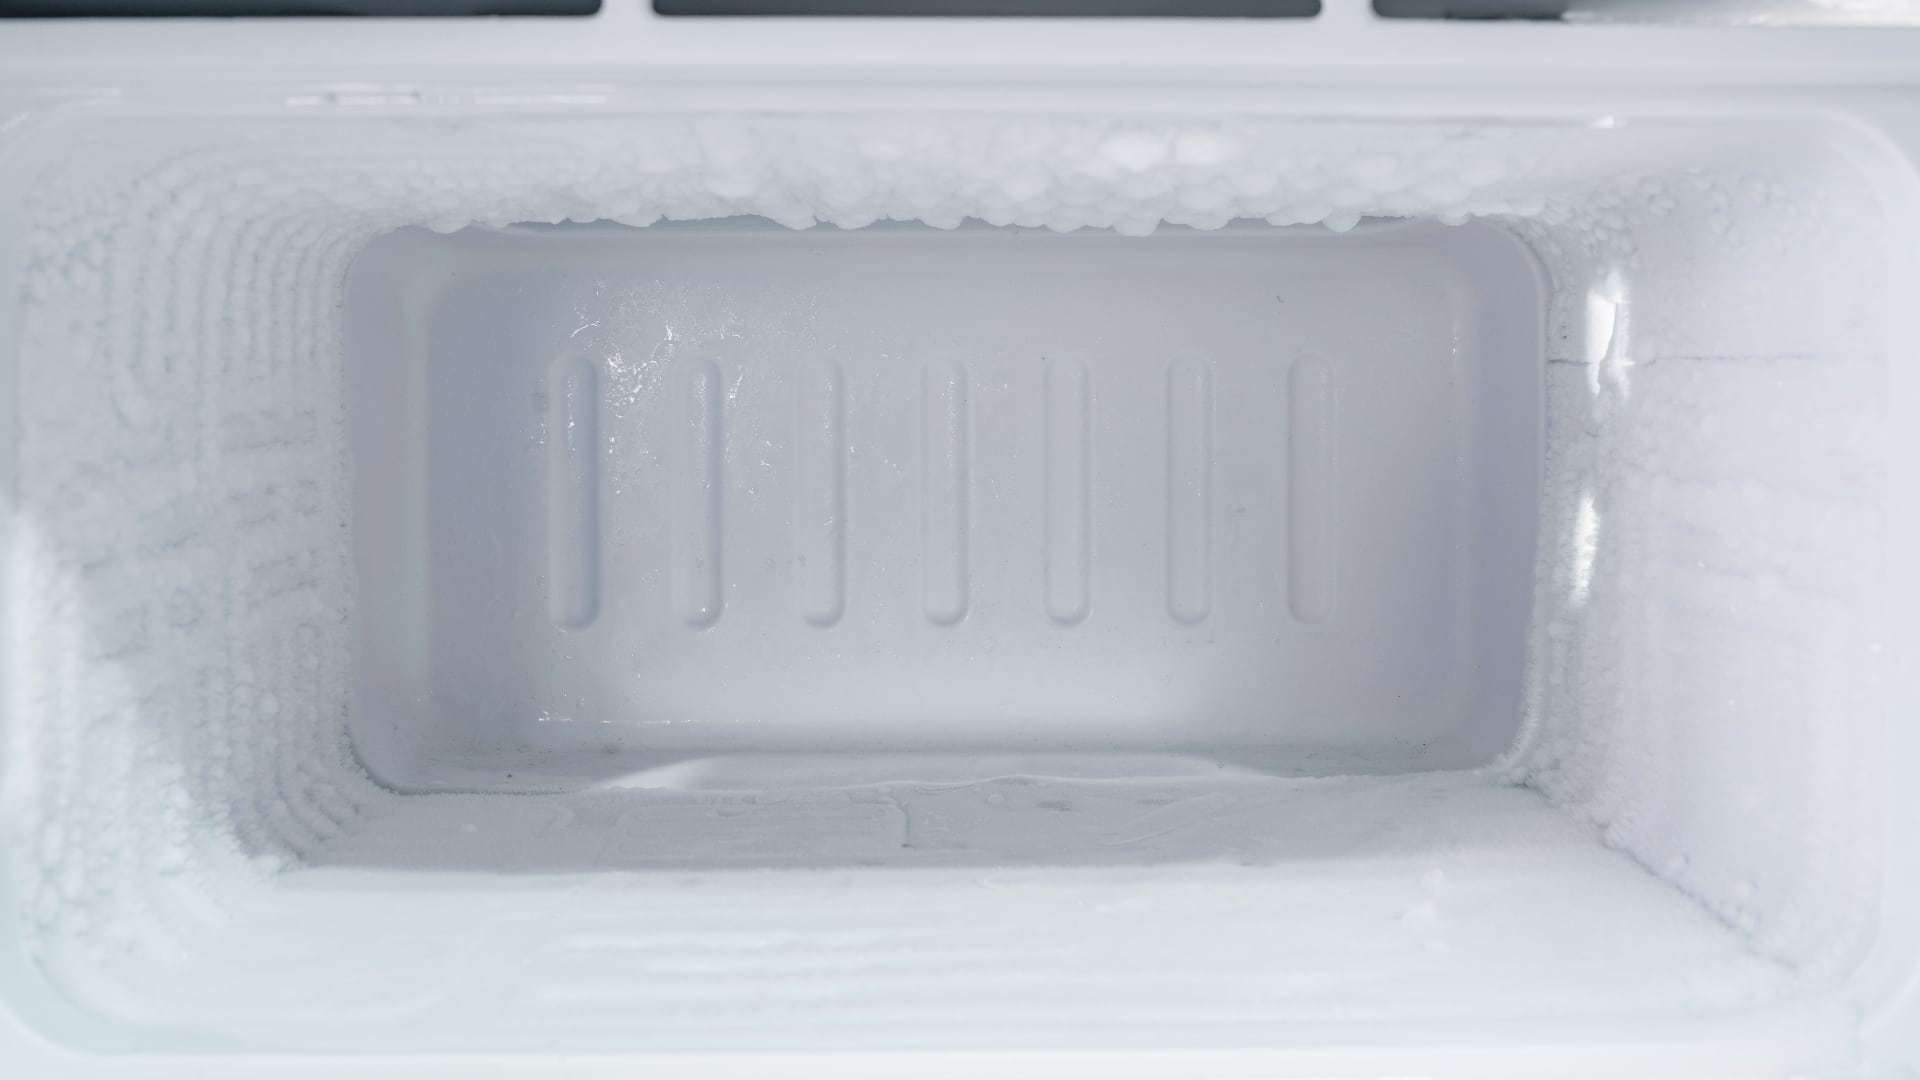
How to Remove Frost Build-up from the Freezer

5 Ways To Clean Your Microwave Naturally
