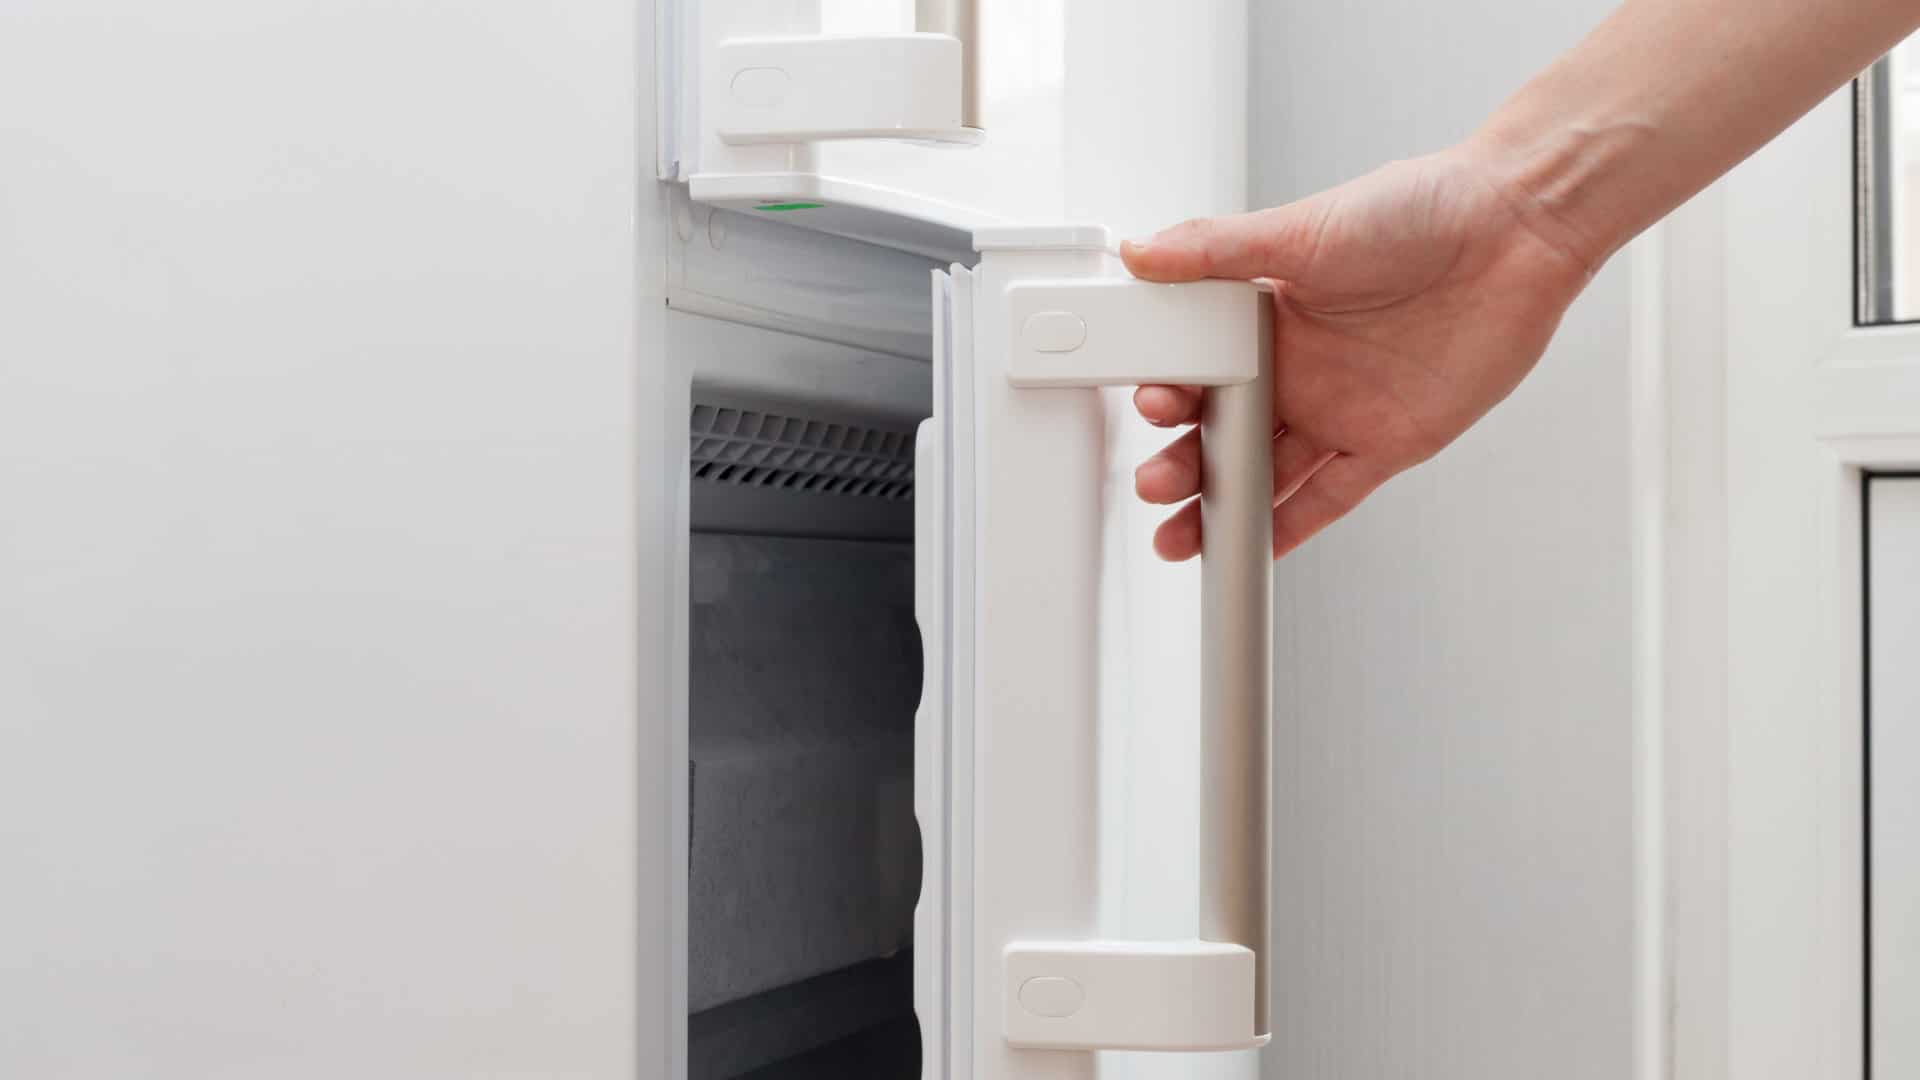
Replacing the door seal (often referred to as a gasket) on your freezer doors is an easy, cheap, DIY project that doesn’t take much time at all. It looks a lot more daunting than it actually is, but thankfully you won’t need an expert for this job.
The gasket or freezer door seal is responsible for keeping the cold air inside and the warm air out. It is arguably the most important part of your freezer because, without one, the internal components would have to work twice as hard to maintain the temperature inside your freezer. This would shorten the lives of those components and make for frequent and costly repairs.
Your freezer door seal should be replaced every 12 months to ensure it is working efficiently. However, if it is damaged in any way, it should be replaced immediately to avoid putting extra stress on the other components.
How long will it take to replace my freezer door seal?
This is a very simple repair job and shouldn’t take more than 30 minutes, even if it’s your first time replacing a freezer door seal.
Where can you buy new door seals?
As most modern homes have freezers with gaskets, buying a new one is quite a common occurrence. You should start by looking in your owner’s manual to see what door seal you will need. Your local hardware store or manufacturer service center should be your next stop. You can also try looking online. Between the website of the manufacturer and an online hardware store, you should be able to find what you are after.
If in doubt, you can always reach out to the customer support team from your appliance manufacturers for help selecting the right door seal.
Tools you will need
While this is an easy DIY project, you will still need a few tools to get the job done effectively.
- New gasket – You should try to get an original replacement part, ideally from the maker of your unit. If that isn’t possible, a universal refrigerator/freezer seal will do the trick.
- Hex head wrench – A 1/4″ size hex head is the standard size, but depending on your freezer, you may need a screwdriver or “Allen” wrench.
- Clean rag – While the door gasket is off, you may want to clean the area where the new one will sit.
- Vaseline – Or any other petroleum jelly-type product (optional).
Before you get started, you should open up your new gasket and leave it somewhere warm. This will help it to become more malleable and easier to install. If you are in a hurry, you can use a blow dryer set on low heat to speed the process up. Just be very careful not to melt the gasket or damage it.
Remove the old gasket
Before you start any repairs or DIY projects, ensure that your appliance is unplugged from its power source. As this is a very quick process, you will not have to worry about emptying your fridge or freezer.
- To start, you will need to loosen the gasket screws.
- Lift the front edge of the old gasket at one corner. This will expose the screws that will need to be loosened. It is important to note you will not be removing the screws, only loosening them.
- Start by loosening the visible screws and working your way from one corner across and then down.
- You should be able to start gently pulling the gasket off the door as you go.
- Continue until the old gasket has been removed completely.
Install new gasket
Once the old gasket has been removed, you will need to fit the new gasket onto the door.
The process is very simple and the reverse of how you took the old door seal off. You can start at either the top or the bottom and tighten the screws slightly as you go, just enough to hold the new door seal in place.
Check the fit
Once you have installed the new gasket and it is in place, shut the door. You will need to inspect the gasket on all sides to ensure that it is properly seated. You should look out for any wrinkles in the new gasket as this will lead to cool air seeping out. Because the screws are only partially tightened, you will be able to make small adjustments by gently pulling the gasket one way or the other as needed to correct any issues.
Tighten the screws
Once you have ensured the new gasket is seated properly and you are happy with your inspection, you can tighten down the screws to complete the installation. Pay attention to the gasket while you are doing this and ensure it does not move. You don’t want to bump it out of alignment.
It is important not to over-tighten the screws and this can cause damage to the appliance. You want them to be snug but not over tight.
Apply a layer of Vaseline (optional)
Now that your freezer has a brand new gasket, you are technically all done. If you want to ensure your new seal is giving you the best deal possible, you can add a light coating of petroleum jelly (Vaseline) along the new seal. Be careful not to add too much as it can get messy.
You should notice a small amount of more effort is required to open your freezer door, which is how you know it works.
How to Clear E24 Error on Bosch Dishwasher

Samsung Dryer Not Heating Properly? (5 Fixes)
Why Is Your Mini Fridge Not Cooling? (5 Potential Reasons)
How to Fix Samsung Washer Error Code 4C
How to Resolve UE Error Code on your LG Washer
LG Washing Machine Error Codes: How to Fix Them
How to Unlock LG Oven Door (After Self-Cleaning)
How to Fix LG Washer DE Error Code
Why Your Microwave Is Not Working
The Quick Guide To Using a GE Self-Cleaning Oven

How to Clean Your Dishwasher with Vinegar
How to Fix a Noisy Refrigerator
How to Remove Frost Build-up from the Freezer
5 Ways To Clean Your Microwave Naturally
