

November 5, 2018
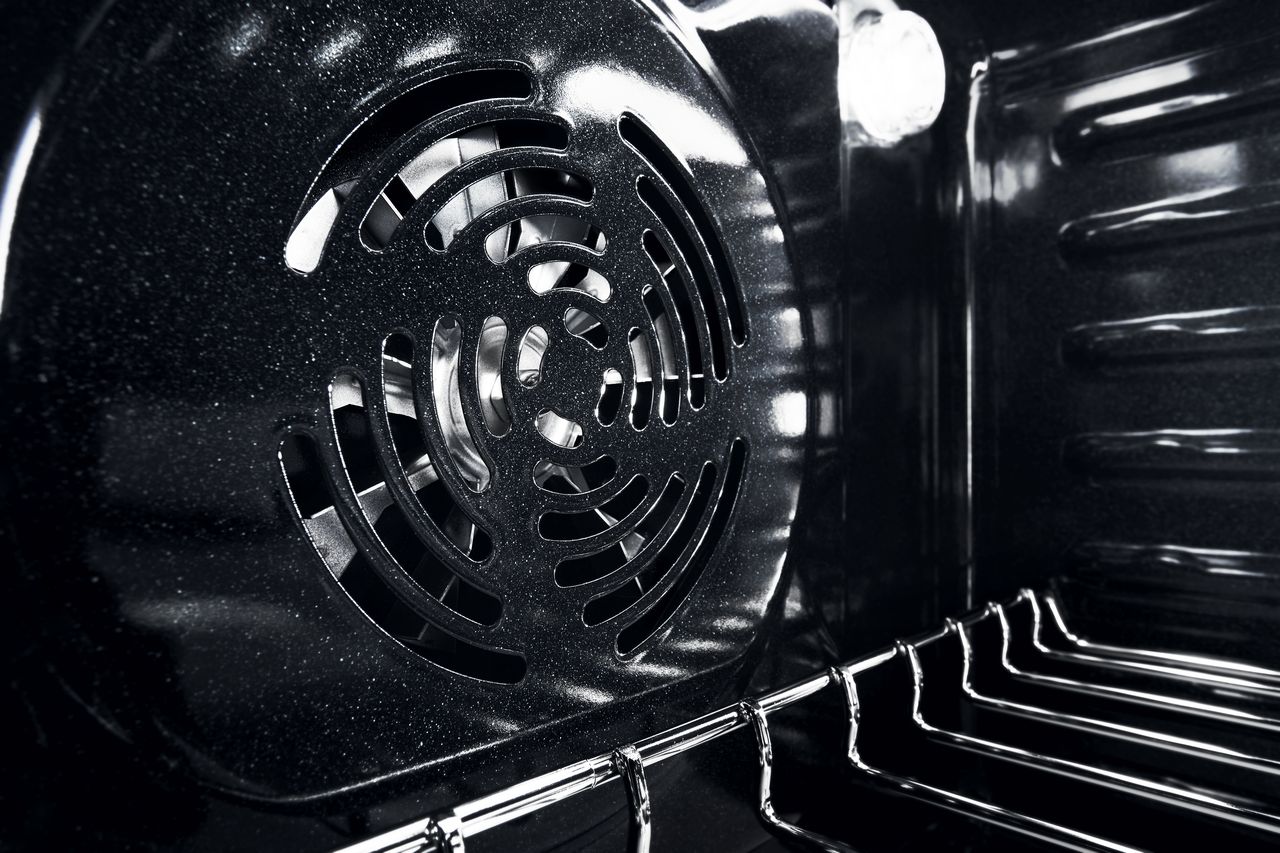
Oven Repair
It’s pretty frustrating to bake a cake, only to find part of it did not bake. Or, to prepare a roast and find that part of it didn’t cook property. Chances are there’s a problem with the bake element and it needs to be replaced.
Diagnostic Check of a Whirlpool WFC310S0EW2 Bake Element
- As with any electric appliance, unplug the oven before you begin work on it. You’ll need Phillip’s head screwdriver, needle-nose pliers, and a volt tester.
- Remove the bottom middle protective panel on the back of the oven by removing the two screws, and pulling the plate down. Be careful, there are sharp edges on the plate.
- Pull the spade terminals off the bake element with your pliers. Plug the oven back in and turn it on to bake. Use a volt tester and set it to ohms. When set on audible tone, you should hear a high pitch tone, if the bake element is working properly. If there’s no tone, it isn’t working correctly.
Replacing the Bake Element for this Whirlpool Oven
- Remember to turn off the oven and unplug it again.
- Open the front of the oven and take out the racks.
- Remove the two screws holding the bake element in. Lift up and pull out the element.
- Slide in the new element. Note, it may need to be wiggled into place. Replace the two screws.
- Reinstall the racks.
- Return to the back of the stove. Install the terminals into the new element.
- Return the back plate – you will now notice there are four notches on the plate which correspond to the backing in which to slide the plate in. Push the plate up and back into place. Replace the screws.
Knowing and understanding just how an oven works, makes it easier to understand how to repair it. Replacing the bake element is one of the easier repairs one can make. Care should be taken in obtaining the proper replacement part. Always remember to unplug an electrical appliance before working on it.
When you are in need of diagnosing problems with one of your appliances and need a hand in its repair, be sure to give Appliance Repair Specialist in Los Angeles a call. Our trained and experienced professionals will schedule a time that fits into your schedule, and get your appliances working properly again in no time.

Apr. 09, 2024
How to Clear E24 Error on Bosch Dishwasher

Mar. 06, 2024
Samsung Dryer Not Heating Properly? (5 Fixes)

Feb. 05, 2024
Why Is Your Mini Fridge Not Cooling? (5 Potential Reasons)

Jan. 03, 2024
How to Fix Samsung Washer Error Code 4C

Dec. 11, 2023
How to Resolve UE Error Code on your LG Washer

Nov. 06, 2023
LG Washing Machine Error Codes: How to Fix Them

Oct. 02, 2023
How to Unlock LG Oven Door (After Self-Cleaning)

Sep. 08, 2023
How to Fix LG Washer DE Error Code

Jul. 31, 2023
Why Your Microwave Is Not Working

Jul. 19, 2023
The Quick Guide To Using a GE Self-Cleaning Oven

Jun. 13, 2023
How to Clean Your Dishwasher with Vinegar

May. 08, 2023
How to Fix a Noisy Refrigerator

Apr. 10, 2023
How to Remove Frost Build-up from the Freezer

Mar. 14, 2023
5 Ways To Clean Your Microwave Naturally

Feb. 01, 2023