

November 11, 2019
Oven Repair
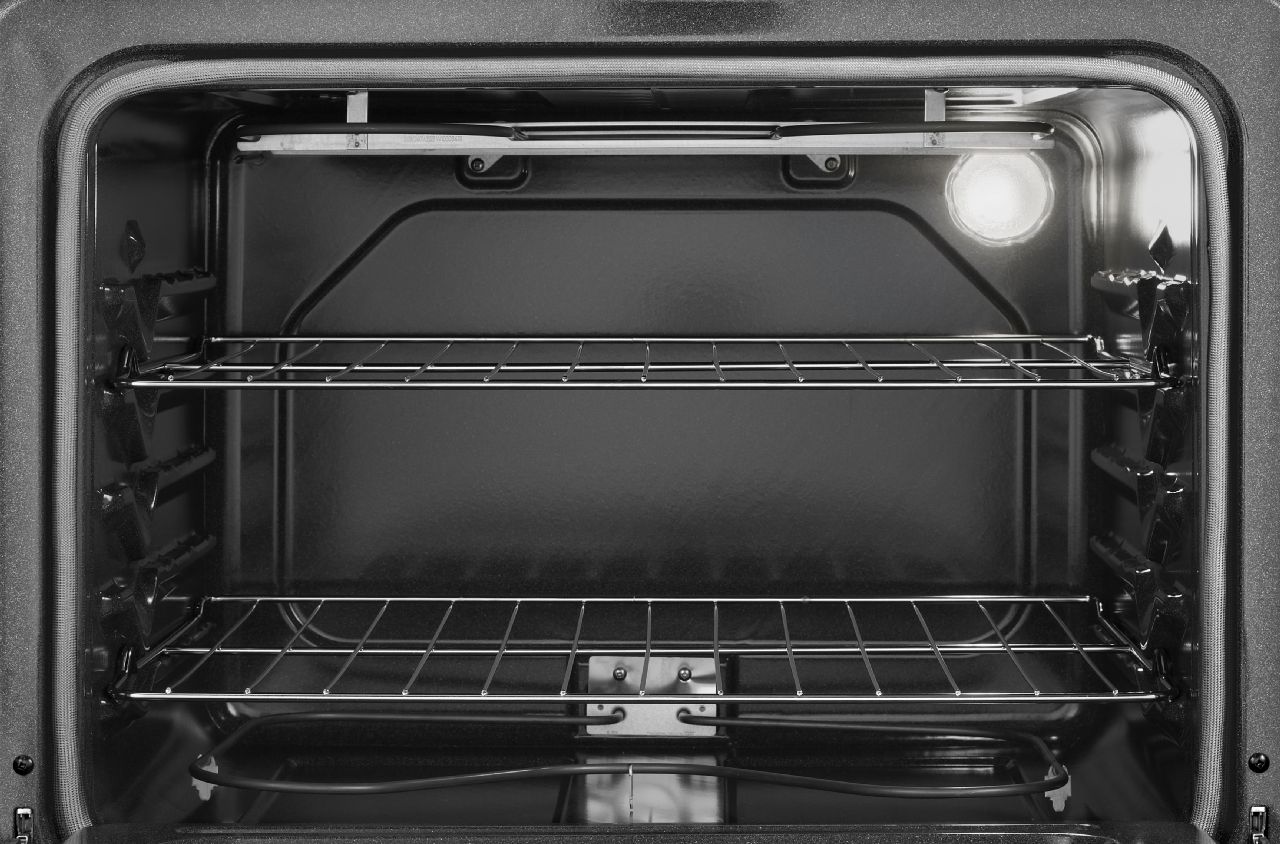
If you open your oven or hit the button on your control panel and the oven does not light up inside, it typically means you need to change out the light bulb. This is done by removing the glass cover and installing a new bulb inside the tub. However, if you have done that, but the light is still not working, then it may mean you have a faulty light socket. You can test this concretely with a multimeter, and if it is faulty, here is how you can replace it.
The actual light socket will require you to remove the back panel on your oven. From there, you can locate the two wires that supply power to it.
From inside the oven tub, you will need to remove the glass cover by unscrewing it and then remove the light bulb. Now the surrounding metal ring that holds it to the back wall will need to come off. You will need to pry the surrounding tabs that secure it up with a screwdriver. Once all of those tabs are dislodged, you will be able to pull the light socket forward and out of your oven.
When installing the new light socket, make sure that the tabs are not bent in and the actual terminals where you will connect the wires are facing up. The light socket should then just insert right in there and snap into place. You can install the bulb and glass cover now, or you can do it after you go to the back of the stove and reconnect the wires.
Once done, you can reconnect the power to your oven and test the light. If you have the door open when you reconnect the power, you should see the light come back on immediately if the socket is working again. If you do not, you may want to check the wires connected to the socket for a secure connection.

Apr. 09, 2024
How to Clear E24 Error on Bosch Dishwasher

Mar. 06, 2024
Samsung Dryer Not Heating Properly? (5 Fixes)

Feb. 05, 2024
Why Is Your Mini Fridge Not Cooling? (5 Potential Reasons)

Jan. 03, 2024
How to Fix Samsung Washer Error Code 4C

Dec. 11, 2023
How to Resolve UE Error Code on your LG Washer

Nov. 06, 2023
LG Washing Machine Error Codes: How to Fix Them

Oct. 02, 2023
How to Unlock LG Oven Door (After Self-Cleaning)

Sep. 08, 2023
How to Fix LG Washer DE Error Code

Jul. 31, 2023
Why Your Microwave Is Not Working

Jul. 19, 2023
The Quick Guide To Using a GE Self-Cleaning Oven

Jun. 13, 2023
How to Clean Your Dishwasher with Vinegar

May. 08, 2023
How to Fix a Noisy Refrigerator

Apr. 10, 2023
How to Remove Frost Build-up from the Freezer

Mar. 14, 2023
5 Ways To Clean Your Microwave Naturally

Feb. 01, 2023