

August 27, 2018
Oven Repair
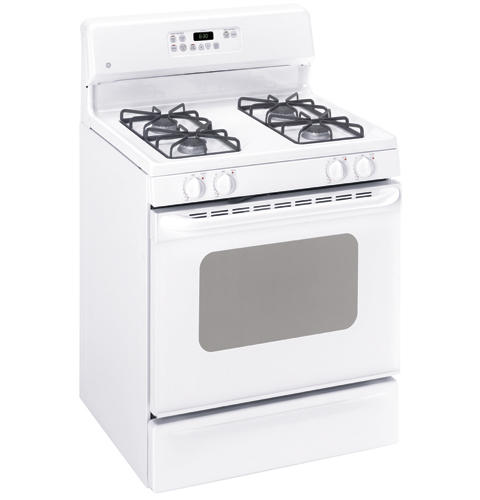
Please note: This article is the summary of an AV Appliance Video repair video titled GE JGBP30WEA5WW Stove Repair – No heat in oven – Oven Igniter.
Our in-home video guides tackle household appliance malfunctions to help you solve practical, everyday issues. In this video, Sean, from Ace Appliance, leads you through a comprehensive, step-by-step video guide to repairing a GE Gas Stove model JGBP30WEA5WW. You can locate your stove’s model number behind the door or on the frame.
The Issue
The customer complaint is that there is no heat in the oven, but the burners work fine. Sean begins by introducing the three tools that he uses throughout the video:
- A/C voltage sensor
- Wire strippers
- Drill with a ¼ inch bit
Take the oven apart
This step uses:
- No tools!
The first step is to take off the oven door. The oven door will be heavy, so lift with caution. Next, take everything out of the oven, including all the racks and the bottom plate. Set them aside where they’ll be out of the way.
What’s Working?
This step uses:
- A/C voltage sensor
Test the oven’s relay for the constant supply of power and the correct supply of power. A working relay will not supply power to the igniter when the oven is off but will when the oven is on. When these tests pass, watch for a glow from the oven’s igniter. When there is no indication of heat or glow, we know that the igniter is not functioning and needs to be replaced.
Replacing the Igniter
This step uses:
- Drill with ¼ inch bit
- Wire strippers
Since the igniter is attached to the burner tube, Sean shows us how to take the burner tube out of the oven to replace the igniter. There are instances where the wires from the new igniter don’t match the wires from the old igniter. However, by splicing the good parts together, we can solve this issue and fix our oven!
- To avoid melting the wire nuts, or causing damage, use ceramic or porcelain wire nuts to connect the wires.
Testing for Functionality
Replace the igniter on the burner tube, restore the burner tube to the oven, and secure all the components back together. Test that our repairs have solved the issue by turning the oven on observing the igniter.
Important!
- When putting the igniter back on the burner tube, be sure that the wires are facing the bent end of the tube.
- There is an opening at the bent end of the burner tube. Be sure that the gas valve goes inside the burner tube so that gas doesn’t pool underneath the oven.
Turn the oven on and observe the igniter to see if it will glow hot and form a flame. If it does, the oven is working and ready to be reassembled.
With the right knowledge, you can be on your way to repairing your own home appliances. Contact us for more information, or to subscribe to comprehensive how-to-guides for home appliance repairs.

Apr. 09, 2024
How to Clear E24 Error on Bosch Dishwasher

Mar. 06, 2024
Samsung Dryer Not Heating Properly? (5 Fixes)

Feb. 05, 2024
Why Is Your Mini Fridge Not Cooling? (5 Potential Reasons)

Jan. 03, 2024
How to Fix Samsung Washer Error Code 4C

Dec. 11, 2023
How to Resolve UE Error Code on your LG Washer

Nov. 06, 2023
LG Washing Machine Error Codes: How to Fix Them

Oct. 02, 2023
How to Unlock LG Oven Door (After Self-Cleaning)

Sep. 08, 2023
How to Fix LG Washer DE Error Code

Jul. 31, 2023
Why Your Microwave Is Not Working

Jul. 19, 2023
The Quick Guide To Using a GE Self-Cleaning Oven

Jun. 13, 2023
How to Clean Your Dishwasher with Vinegar

May. 08, 2023
How to Fix a Noisy Refrigerator

Apr. 10, 2023
How to Remove Frost Build-up from the Freezer

Mar. 14, 2023
5 Ways To Clean Your Microwave Naturally

Feb. 01, 2023