

April 23, 2018
Oven Repair
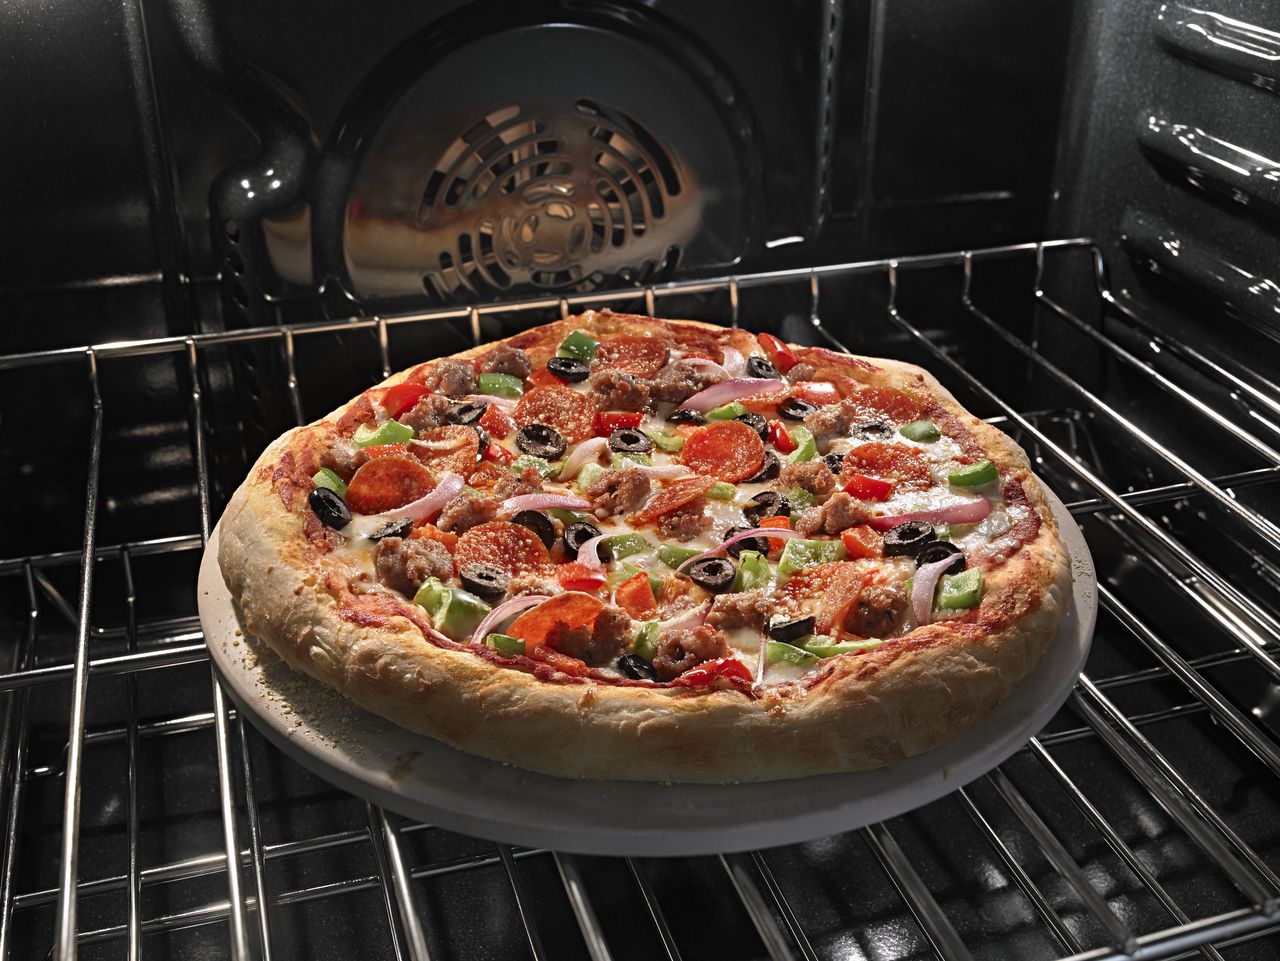
Is your GE wall oven (model number JRP150P1G) producing little to no heat, but you aren’t sure why this is happening? There is a way to diagnose your issue.
Before you begin
The tools you will need for this repair include a flashlight, a Phillips screwdriver, and a voltage meter.
WARNING: Testing with live voltage going to the appliance can be very dangerous. Do not attempt unless you have been trained.
First, look inside the oven at the elements to make sure they are functioning and do not appear to have any damage. There is a temperature sensor in the back upper left-hand corner of the oven, which you will remove and test.
To ensure safety, locate the breaker box in the house, and turn the power off.
Now you will remove the oven door by placing in its resting position, then grabbing the sides of the door and lifting straight up. The door will slide off easily. Now close the door hinges so that you do not accidentally catch yourself on them.
Remember to leave the temperature sensor on. It is directly attached to the control board and does not need to be removed.
Use a flashlight to illuminate the inside of the oven.
Access the inside of the control panel to test the sensor
First, pull the oven out a few inches so that you can access the screw heads properly. Next, remove the screws holding the control panel in place. Now you can remove the control panel, being careful of sharp edges.
Refer to the text sheet to see what pin connections you need to locate in the back of the control board. At room temperature, that would be 1100 Ohms. You will have to test the proper wires and see if the probe is good.
Set your multimeter to the Ohms setting and then take each of your meter leads and locate the proper pin connections coming up in the wiring to check them for proper continuity.
Next, check for proper continuity between the bake and broil elements in the unit, according to the schematic on the back of the control panel (B for bake, and BR for broil). Disconnect the wires one at a time, and perform the reading, remembering to put them back in the right spot. Be careful not to cut yourself on the edges inside the unit.
When that is completed, turn on your control panel, set a temperature and push bake. The temperature sensor will sense the temperature inside the oven cavity which should be generated by both the bake and broil element.
If the sensor is working and both elements are working, the main control board may be malfunctioning and need to be replaced. Otherwise there could be a wiring issue that will need to be traced.
Reassemble
Go in reverse order of what you did before in order to put the unit back together. To replace the door, look for the two slots where the hinges slide in, and set it back on the glides, making sure you hold the sides of the door, not the handle.

Apr. 09, 2024
How to Clear E24 Error on Bosch Dishwasher

Mar. 06, 2024
Samsung Dryer Not Heating Properly? (5 Fixes)

Feb. 05, 2024
Why Is Your Mini Fridge Not Cooling? (5 Potential Reasons)

Jan. 03, 2024
How to Fix Samsung Washer Error Code 4C

Dec. 11, 2023
How to Resolve UE Error Code on your LG Washer

Nov. 06, 2023
LG Washing Machine Error Codes: How to Fix Them

Oct. 02, 2023
How to Unlock LG Oven Door (After Self-Cleaning)

Sep. 08, 2023
How to Fix LG Washer DE Error Code

Jul. 31, 2023
Why Your Microwave Is Not Working

Jul. 19, 2023
The Quick Guide To Using a GE Self-Cleaning Oven

Jun. 13, 2023
How to Clean Your Dishwasher with Vinegar

May. 08, 2023
How to Fix a Noisy Refrigerator

Apr. 10, 2023
How to Remove Frost Build-up from the Freezer

Mar. 14, 2023
5 Ways To Clean Your Microwave Naturally

Feb. 01, 2023