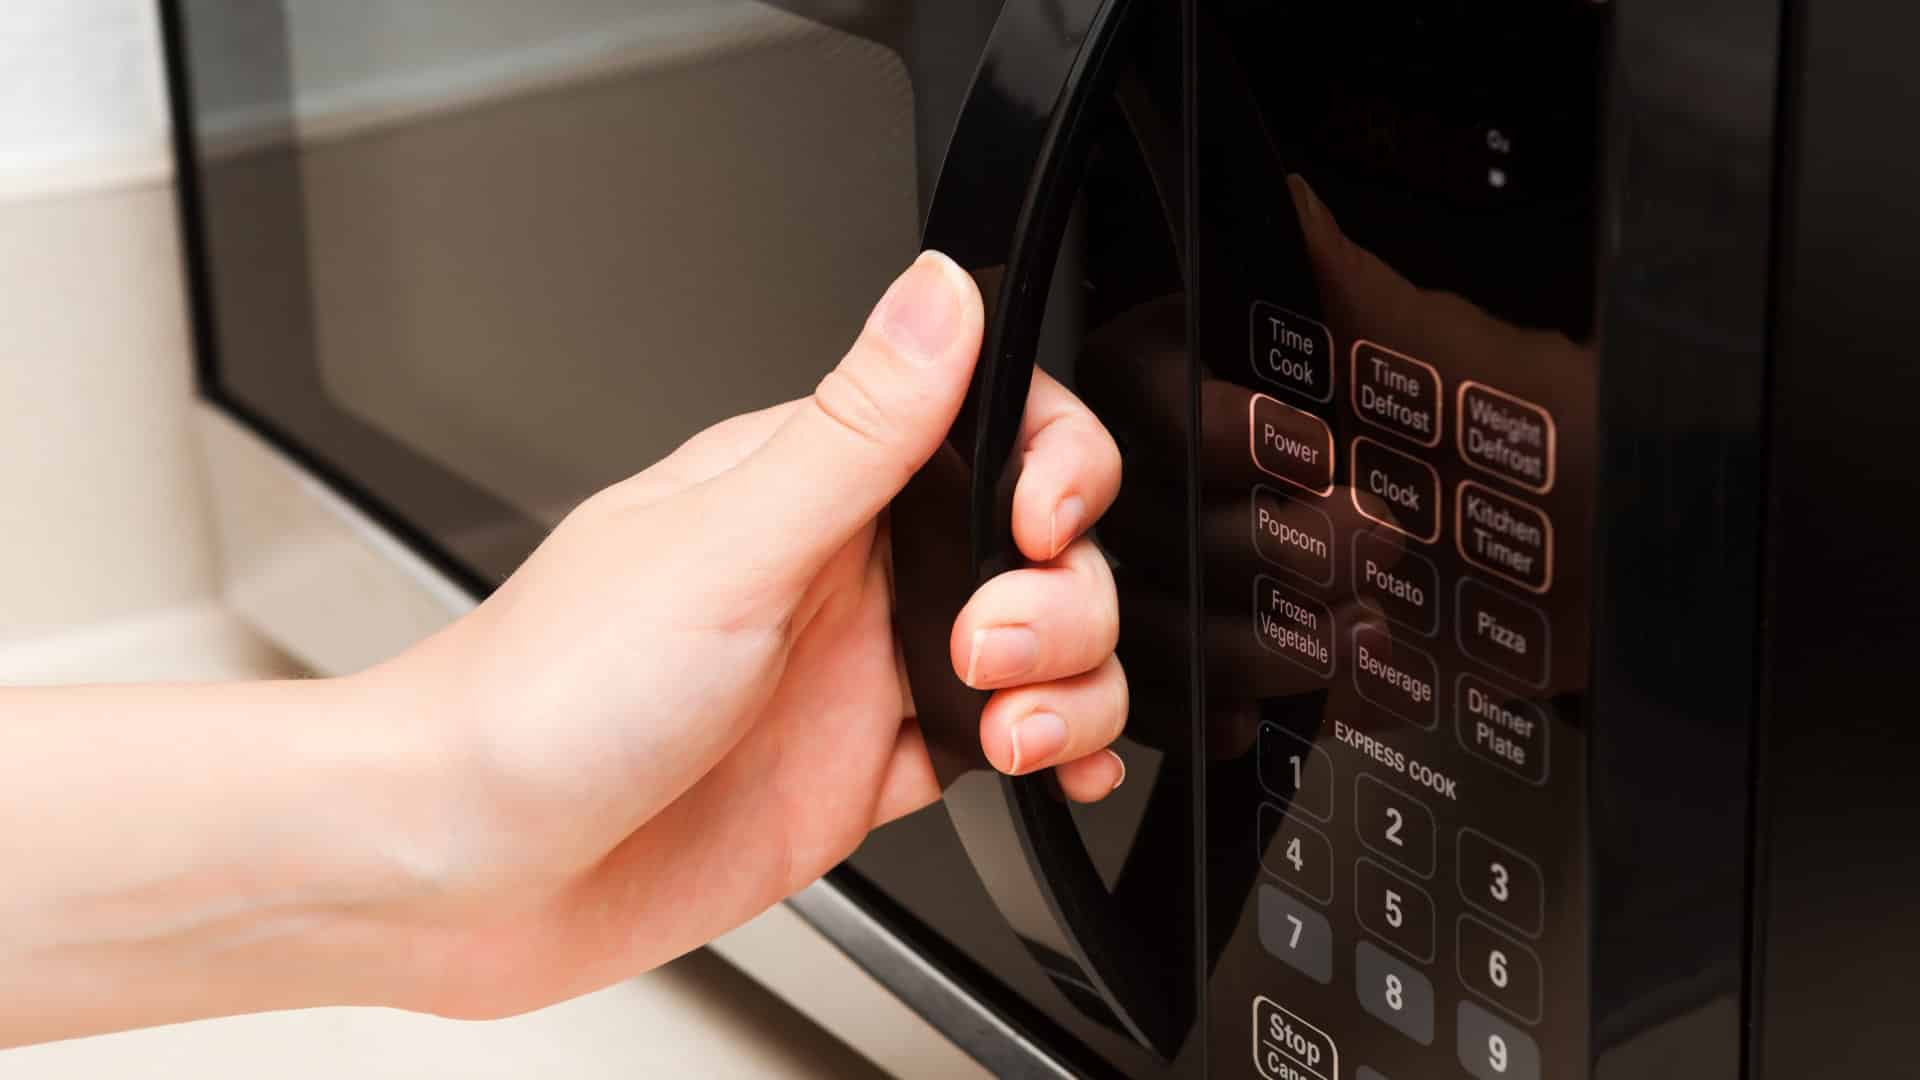
Uninstalling an over-the-range microwave can seem like a daunting task. However, it is actually a relatively easy process. To make it easier, make sure you have someone to help you, use a power drill to remove the screws, and pull the range out to provide easier access to the microwave. If everything goes well, it should take less than 45 minutes (20 minutes if you are a pro) to uninstall the over-the-range microwave.
How your particular over-the-range microwave is secured may vary. However, in most cases, it will be secured by screws coming from the top cabinet and by a mounting bracket attached to the back wall.
What you will need
- Power drill (recommended) or Phillips-head screwdriver
- Screwdriver and drill bits
- Blanket or tarpaulin (tarp)
- Work gloves (recommended)
- Someone to help support and lift the microwave
Preparation
While the professionals may do it by themselves, you will likely require assistance to hold the microwave while the screws are unthreaded and to set the microwave down once all securing screws have been removed.
It is recommended to wear work gloves when uninstalling the microwave, as you will likely come into contact with sharp edges that can cut your hands.
Tip: If possible, pull the range out to provide better access to the microwave.
If you are unable to move the range, it is a good idea to cover the cooktop with a dense blanket to catch anything that may fall during the process and to provide some protection should you accidentally drop the microwave.
Make sure you disconnect the power to the cooktop before covering it with a blanket. The last thing you want is the cooktop accidentally being turned on while the microwave is being removed.
How to uninstall an over-the-range microwave
Step 1: Disconnect the power to the microwave and cooktop.
With most microwaves, you will be able to unplug them; however, if your microwave is hardwired into the circuitry, you will need to open the junction box and disconnect the wires so that the microwave can be removed.
Step 2: Move or cover the cooktop with a dense blanket.
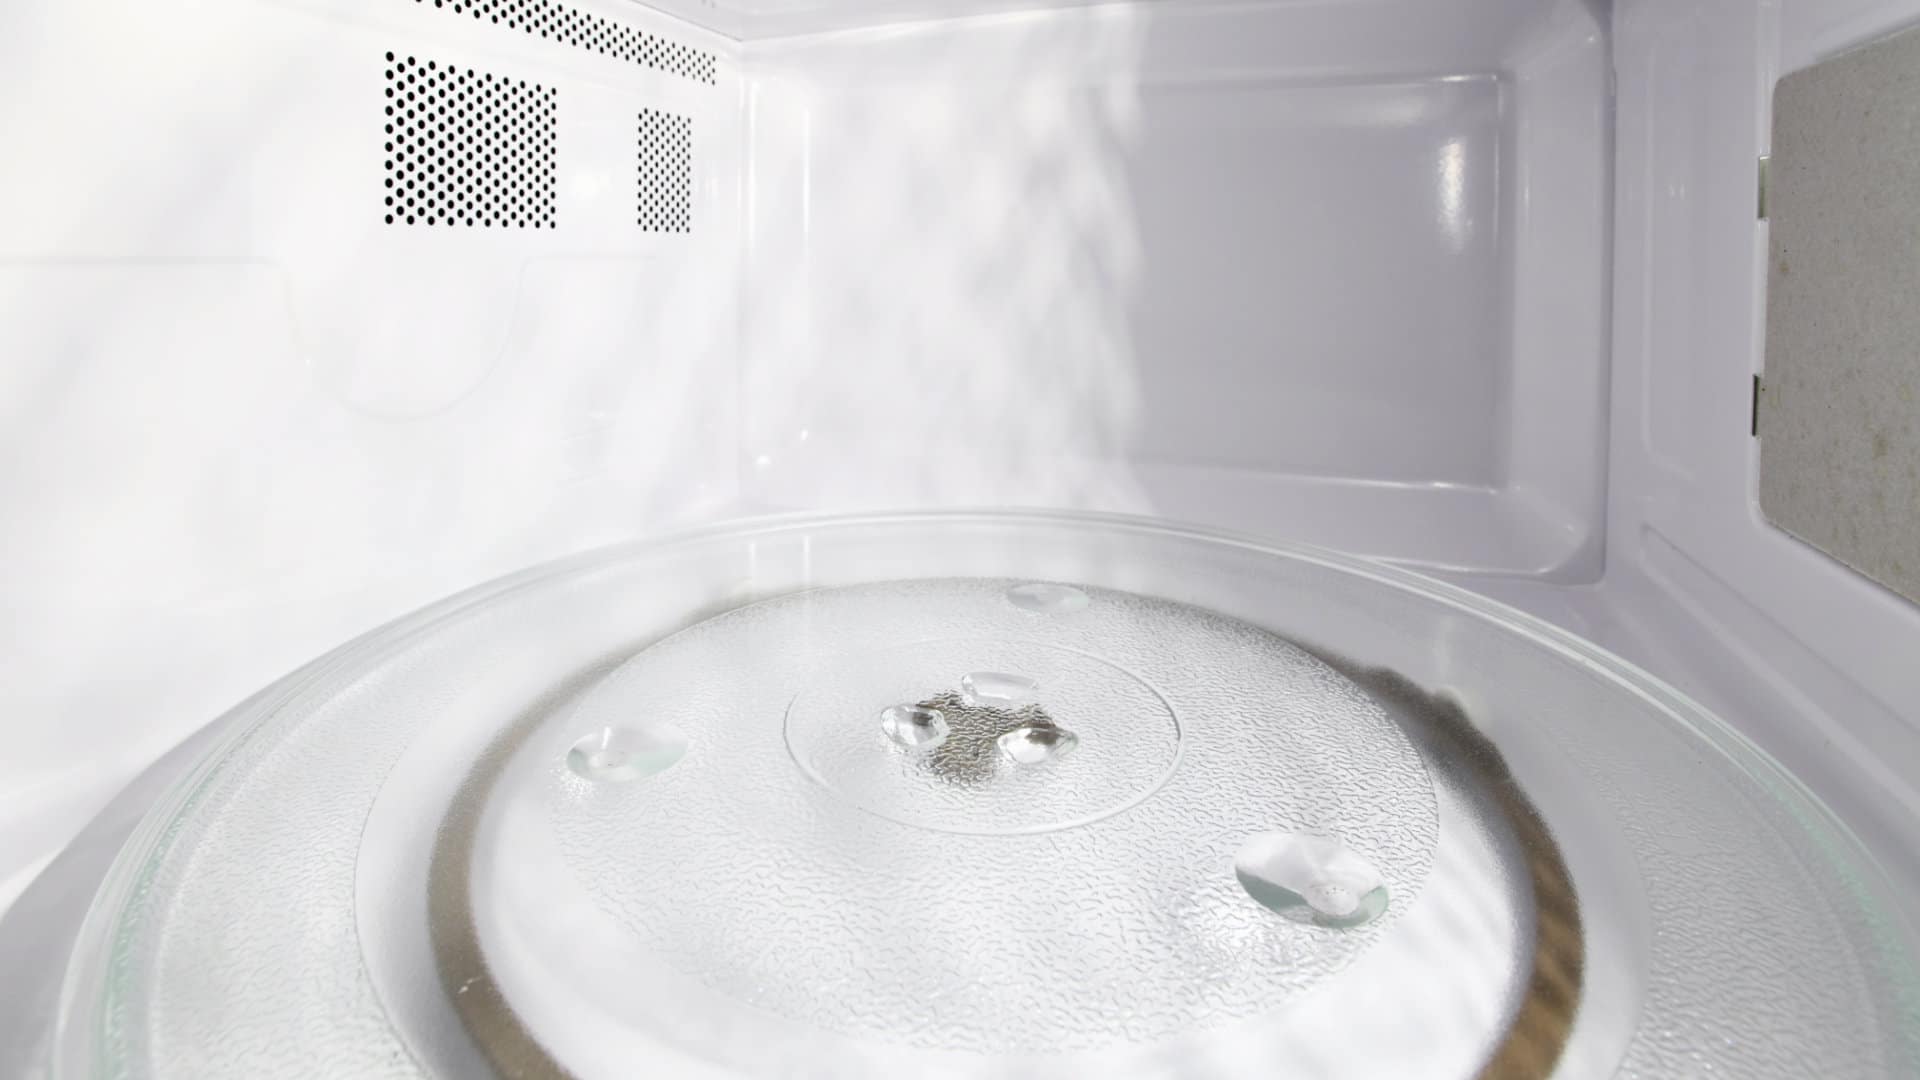
Step 3: Remove the turntable plate and turntable support from the microwave. Make sure the microwave is empty before proceeding.
Step 4: Make sure the microwave is unplugged and that the cord is unraveled so that it can come down through the hole in the cabinet when you remove the microwave.
Step 5: Locate and remove the screws above the microwave that secure it to the top cabinet. Make sure to have someone hold the microwave from underneath, as once the screws are removed, the microwave will fall if not supported.
Step 6: Once the screws are removed, the microwave should drop down with only the mounting bracket on the back wall still loosely supporting it. With the microwave tilted down, you will need to slightly lift the back of the microwave off the mounting bracket.
If you are unable to grip the microwave to lift it off the bracket, opening the microwave door and reaching inside may give you the leverage you need.
Step 7: Carefully remove the microwave, making sure the power cord does not get stuck or caught on something.
Carefully, put the microwave down; congratulations, you have successfully uninstalled the over-the-range microwave.
What to do with the mounting bracket
The remaining mounting bracket may be able to be reused if you are installing a new microwave. However, there are many different types of mounting brackets, so you will need to check if the new microwave will be compatible with the existing mounting bracket. If the new microwave is a different brand or model, you will likely need to remove the existing bracket.
The mounting bracket should be easy to remove; you just need to unthread the screws securing it. Usually, the bracket will be secured with lag screws, which can be removed with a socket wrench. However, sometimes toggle bolts may be used. If the bolts spin in place when attempting to remove them, they are most likely “toggle bolts”. To remove toggle bolts, position a putty knife behind the bolt’s head and then pull it toward you as the bolt’s removed. The toggle bolt should fall into the wall cavity.
Holding rods
Another way the microwave may be secured to the mounting bracket is with holding rods. In some cases, holding rods may be used to ensure the microwave does not become unstable when you open the microwave door.
To remove the holding rods, remove the front cover of the microwave from above the door. There should be a holding bolt on each side of the microwave. The rods should be loosened with a screwdriver to allow the microwave to drop down and be released from the mounting bracket.
If you are still having trouble, there may be a locking mechanism that requires a trip wire at the back to be pulled to release a spring-loaded clip. If you still have trouble, make sure the microwave is secured before contacting a trained technician or the microwave’s manual for bracket removal instructions.
How to Clear E24 Error on Bosch Dishwasher

Samsung Dryer Not Heating Properly? (5 Fixes)
Why Is Your Mini Fridge Not Cooling? (5 Potential Reasons)
How to Fix Samsung Washer Error Code 4C
How to Resolve UE Error Code on your LG Washer
LG Washing Machine Error Codes: How to Fix Them
How to Unlock LG Oven Door (After Self-Cleaning)
How to Fix LG Washer DE Error Code
Why Your Microwave Is Not Working
The Quick Guide To Using a GE Self-Cleaning Oven

How to Clean Your Dishwasher with Vinegar
How to Fix a Noisy Refrigerator
How to Remove Frost Build-up from the Freezer

5 Ways To Clean Your Microwave Naturally
