April 9, 2020
Microwave Repair
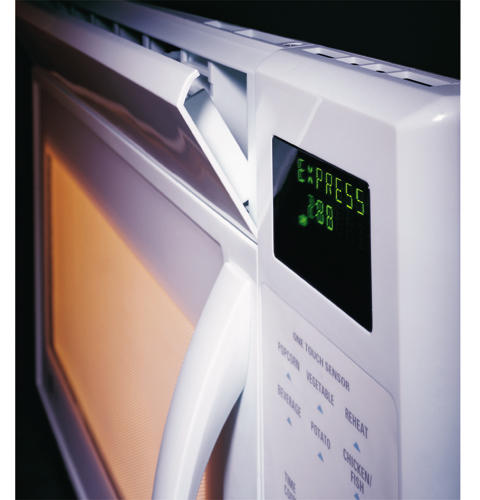
In order to cook your food evenly, the turntable in your over-the-range GE microwave model JVM1870BF rotates. The rotation is controlled by a turntable motor, which connects to a coupler. When the glass tray in your appliance stops spinning, a malfunctioning turntable motor is a likely cause. Luckily, replacing the defective motor is a simple repair that shouldn’t take you long at all.
Microwave Repair Safety Tips
- Always unplug your microwave before you start repairing the appliance.
- During the repair wear work gloves and safety goggles to protect your hands and eyes.
- If you run into an issue and no longer feel you can safely replace the turntable motor, please stop what you are doing and call an experienced appliance repair technician.
How to Replace the Turntable Motor in Your GE Microwave
- Open your microwave door. Take out the glass tray and the support ring the tray sits on.
- To reach the turntable motor, you’ll need to unthread the screws that secures the microwave’s bottom panel to the appliance.
- Once the screws are removed, carefully lower the bottom panel until you see the wire harness that connects to the microwave light bulbs. Disconnect the harness, and then finish taking the bottom panel off the microwave.
- With the bottom panel no longer in the way, you can now remove the faulty turntable motor. To do so, disconnect the wire harness that runs to the motor. Then, using a Phillips screwdriver, unthread the screws securing the turntable motor to the bottom of your microwave.
- To install the new turntable motor you must line up the motor shaft with the turntable coupler. If the two aren’t correctly lined up, reach inside your microwave and rotate the coupler until you can easily insert the motor shaft into the turntable coupler.
- After the motor is properly inserted into the coupler, replace the motor screws to secure the new part to the bottom of the microwave.
- Next, reconnect the motor wire harness to the side of the turntable motor.
- Close up the bottom of your microwave by lining up the bottom panel with the back frame of your appliance. Once the panel is lined up, reattach the light bulb wire harness. Finally, finish replacing the bottom panel by securing it with the panel screws.
- Open the microwave door and reinsert the support ring and glass tray. Then, plug your appliance back in to finish your repair.
If a new turntable motor did not solve your microwave malfunction, please contact us today, and we’ll be happy to diagnose and repair the issue.
Apr. 09, 2024
How to Clear E24 Error on Bosch Dishwasher

Mar. 06, 2024
Samsung Dryer Not Heating Properly? (5 Fixes)
Feb. 05, 2024
Why Is Your Mini Fridge Not Cooling? (5 Potential Reasons)
Jan. 03, 2024
How to Fix Samsung Washer Error Code 4C
Dec. 11, 2023
How to Resolve UE Error Code on your LG Washer
Nov. 06, 2023
LG Washing Machine Error Codes: How to Fix Them
Oct. 02, 2023
How to Unlock LG Oven Door (After Self-Cleaning)
Sep. 08, 2023
How to Fix LG Washer DE Error Code
Jul. 31, 2023
Why Your Microwave Is Not Working
Jul. 19, 2023
The Quick Guide To Using a GE Self-Cleaning Oven

Jun. 13, 2023
How to Clean Your Dishwasher with Vinegar
May. 08, 2023
How to Fix a Noisy Refrigerator
Apr. 10, 2023
How to Remove Frost Build-up from the Freezer

Mar. 14, 2023
5 Ways To Clean Your Microwave Naturally
Feb. 01, 2023

