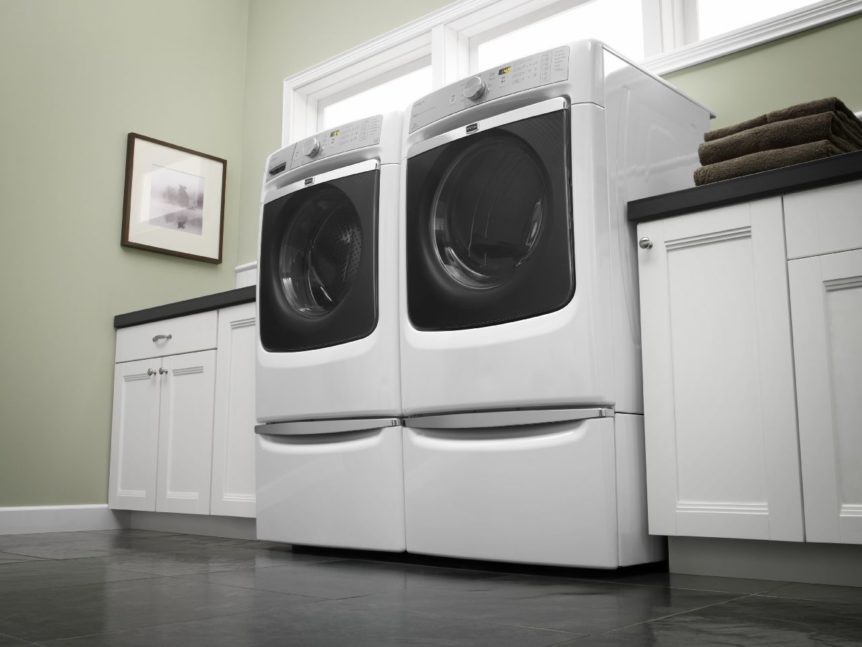
Slam that dryer door a little too hard or awkwardly? Well, when you do, you risk doing damage to the door catch kit. This door catch kit is made up of two parts, the strike on the body of the dryer and the catch on the actual door. The strike is inserted into the catch and helps to hold the door closed. However, if the strike is bent or the catch is somehow damaged, your dryer door may not close all the way or stayed closed, meaning this part needs to be replaced.
You will want to start with the strike, as it is easiest. Using a pair of pliers, you simply need to tilt the strike to the side and then pull it out. The new strike is installed by inserting it at an angle, then snapping it into place. As this is done using pliers, be sure not to squeeze too hard and damage the new strike.
For the catch, you need to unthread the screws on the dryer door to separate the inner door from the outer door cover. Inside, you will need to depress the locking tabs on the catch with pliers while pushing the catch forward with your thumb until it pops out.
The new catch is inserted through the front and goes in much easier than the old one came out. If you are using a replacement kit with multiple catches and strikes, be sure to use the catch that matches the strike you used. With the door screws re-inserted, you can now close your door.
While this repair is pretty painless, not all appliance repairs work out that way. If you need the help of a skilled professional, contact us today to see what Central Valley Appliance Repair can do to help you get all your appliances up and running.
How to Clear E24 Error on Bosch Dishwasher

Samsung Dryer Not Heating Properly? (5 Fixes)
Why Is Your Mini Fridge Not Cooling? (5 Potential Reasons)
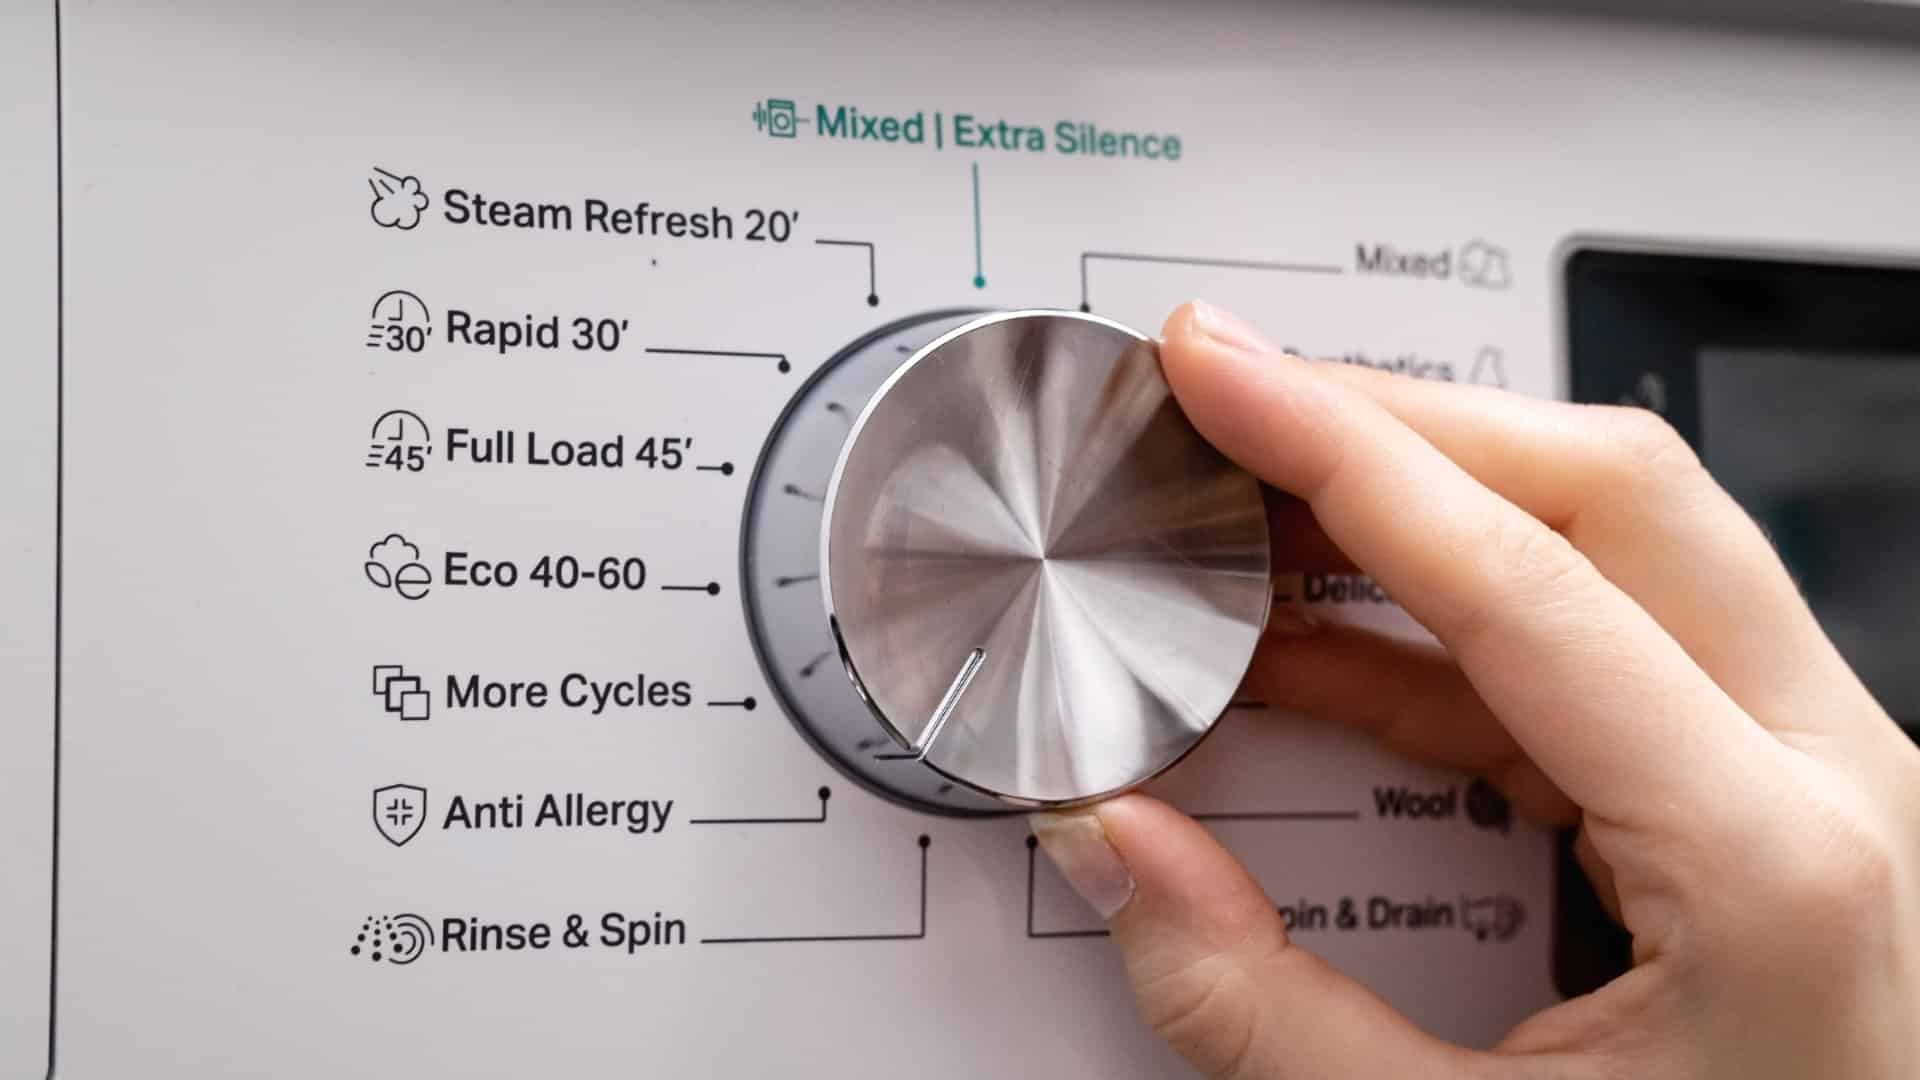
How to Fix Samsung Washer Error Code 4C
How to Resolve UE Error Code on your LG Washer
LG Washing Machine Error Codes: How to Fix Them
How to Unlock LG Oven Door (After Self-Cleaning)
How to Fix LG Washer DE Error Code
Why Your Microwave Is Not Working
The Quick Guide To Using a GE Self-Cleaning Oven

How to Clean Your Dishwasher with Vinegar
How to Fix a Noisy Refrigerator
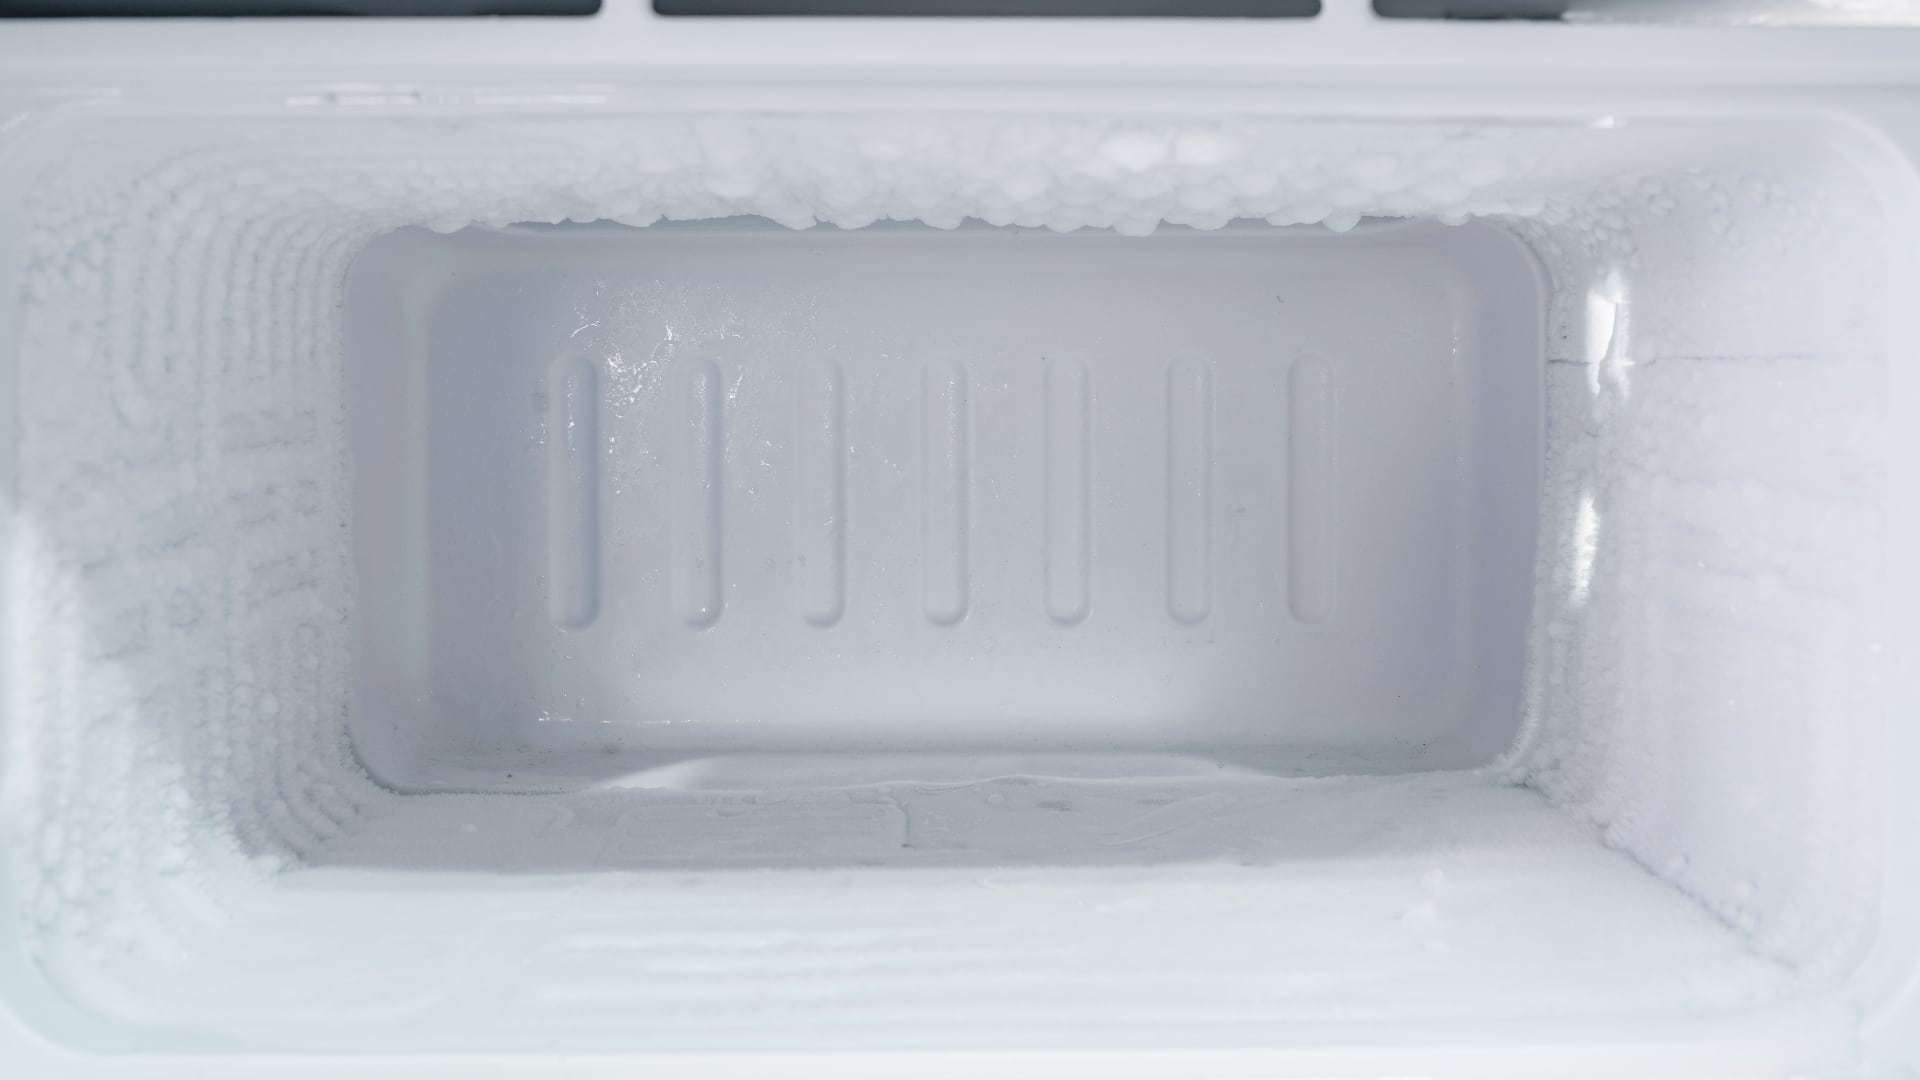
How to Remove Frost Build-up from the Freezer

5 Ways To Clean Your Microwave Naturally
