

November 12, 2020
Dryer Repair
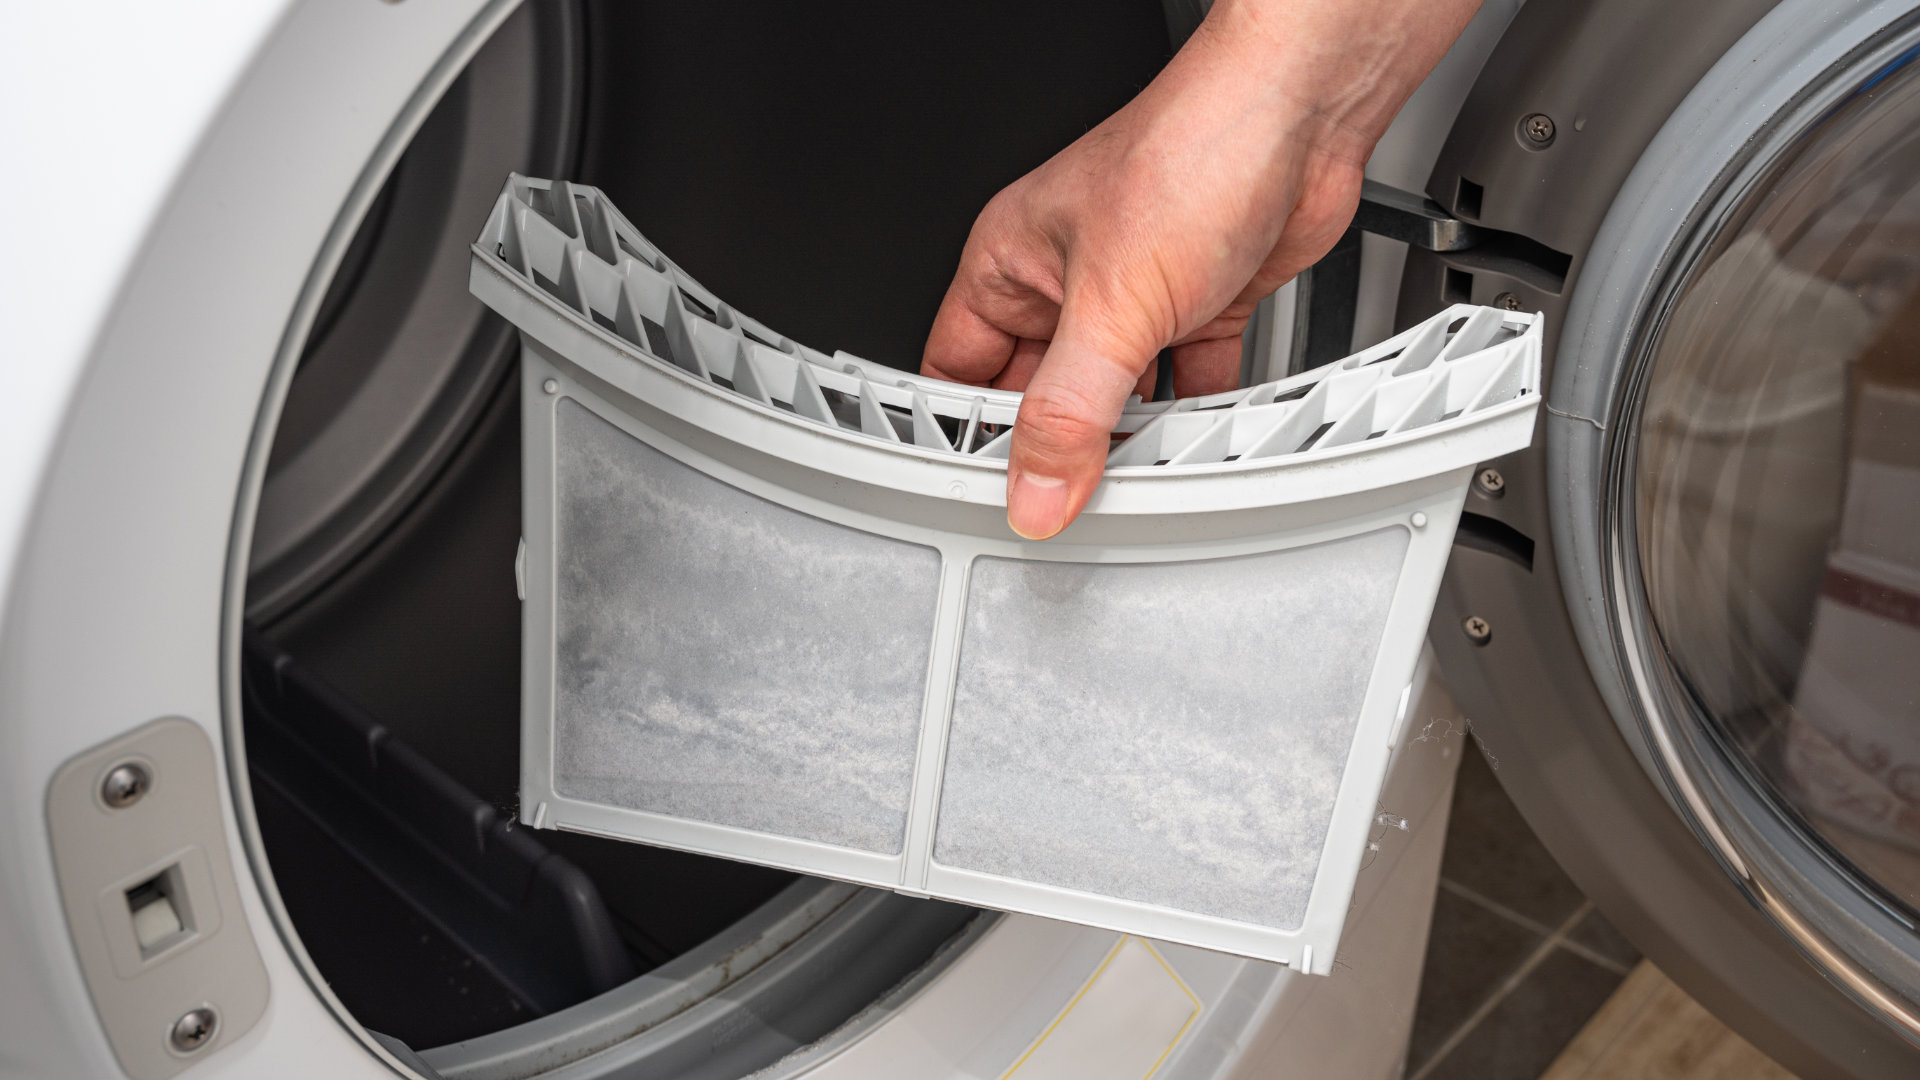
Your Frigidaire dryer timer controls quite a few components in your appliance. The two most important being the drive motor and the heating element. When your timer is malfunctioning your dryer can present a number of symptoms including not starting, not heating, or stopping mid-cycle. If you suspect the timer in your appliance is faulty due to the motor shorting out or burned out contacts, you will need to replace the component before your dryer will run properly, once again.
Appliance Repair Safety Tips
- Before getting started, unplug your dryer or switch off the power at your home’s circuit breaker.
- During the dryer repair avoid injuring yourself by wearing work gloves and safety glasses.
- If the repair isn’t going well and you no longer feel safe continuing the job, please stop what you are doing and contact a professional appliance repair technician.
How to Gain Access to the Dryer Timer
Start your repair by pulling off the timer knob located on your dryer’s control console. From there, if you haven’t already, pull your dryer forward to create enough space for you to fit behind the appliance. Next, head to the back of your dryer and unthread the screws securing the top, rear access panel. Once the screws are out, lower the panel and let it hang from the back of the dryer.
How to Uninstall a Faulty Dryer Timer
Unthread the two mounting screws that hold the timer in place and remove the timer from the dryer. At this point you’ll need to disconnect the wires running to the timer, however, before you get started, we suggest taking a picture of the connections for you to reference later. Next, disconnect the wires. You may need to use a flat head screwdriver to carefully pry the wires from their terminals.
How to Install a New Dryer Time
Grab the new timer and carry it over to your dryer. Start installing the component by reconnecting the wires. If you don’t remember the proper home for each wire, take a look at the picture you took earlier. After the wires are connected to the correct terminals, align the screw holes in the timer with the screw holes in the mounting bracket, and then rethread the mounting screws to secure the timer. Finish up the repair by reinstalling the top, rear panel, and by replacing the timer knob on your dyer’s control console.
If your dryer is malfunctioning and you’re not sure what’s causing the issue, please contact us today, and one of our appliance repair technicians will happily help you pinpoint the faulty component.

Apr. 09, 2024
How to Clear E24 Error on Bosch Dishwasher

Mar. 06, 2024
Samsung Dryer Not Heating Properly? (5 Fixes)

Feb. 05, 2024
Why Is Your Mini Fridge Not Cooling? (5 Potential Reasons)

Jan. 03, 2024
How to Fix Samsung Washer Error Code 4C

Dec. 11, 2023
How to Resolve UE Error Code on your LG Washer

Nov. 06, 2023
LG Washing Machine Error Codes: How to Fix Them

Oct. 02, 2023
How to Unlock LG Oven Door (After Self-Cleaning)

Sep. 08, 2023
How to Fix LG Washer DE Error Code

Jul. 31, 2023
Why Your Microwave Is Not Working

Jul. 19, 2023
The Quick Guide To Using a GE Self-Cleaning Oven

Jun. 13, 2023
How to Clean Your Dishwasher with Vinegar

May. 08, 2023
How to Fix a Noisy Refrigerator

Apr. 10, 2023
How to Remove Frost Build-up from the Freezer

Mar. 14, 2023
5 Ways To Clean Your Microwave Naturally

Feb. 01, 2023