

January 7, 2019
Dryer Repair
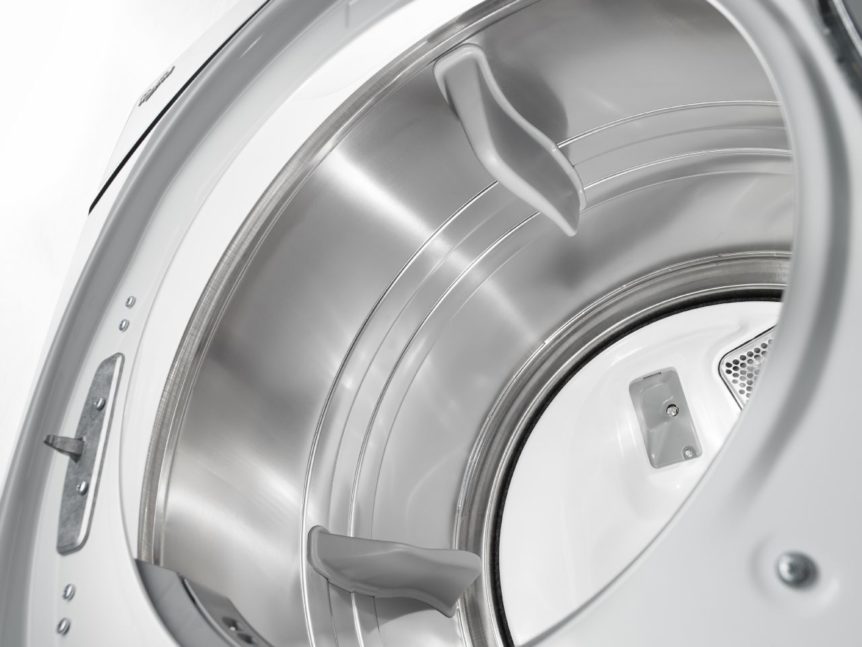
Your Whirlpool dryer model WGD7000DW is equipped with two rear dryer drum support rollers. The rollers are located on the dryer’s back panel inside the appliance cabinet. As the dryer drum rotates, the rear support rollers hold the drum in place. If the rollers are worn, you may hear a scraping, squealing, or thumping sound coming from your appliance. To replace the worn out support rollers in your dryer, follow the steps provided below.
How to Replace the Rear Dryer Drum Support Rollers in Your Whirlpool Dryer
Before you begin your repair, unplug your dryer and turn off the gas running to the appliance. Work gloves and safety goggles must be worn to protect your hands and eyes from injury.
- Take the lint screen out of its housing, and unthread the screws found near the opening. Insert a putty knife between the top panel and front panel to disengage the right and left corner locking tabs. Then lift the top panel up and rest it against your laundry room wall.
- Find the door switch wire harness and disconnect it. Then, take out the screws on the inside of the cabinet holding the front panel to the dryer. Once the screws are removed, tilt the front panel back and lift it up and off your appliance.
- Reach underneath your dryer drum, and push the idler pulley forward to release the dryer belt from the pulley and the motor shaft. With the belt no longer attached to the pulley or motor shaft, take the drum out of the dryer cabinet.
- Unthread the screw holding the mounting bracket to the right, rear support roller, and take the bracket off the roller shaft. Then, slide the front tri-rings off the shaft, followed by the support roller. Once the support roller is off, remove the back tri-rings. Repeat the same steps with the left, rear support roller.
- Now it’s time to install the new right and left support rollers. Start by sliding the back tri-rings onto the roller shafts. Then, push on the support rollers and the front tri-rings. Reattach the mounting brackets with the screws you took out earlier.
- With the new rollers installed, you can start reassembling your dryer. First, reattach the dryer drum. Then, reach under the drum and rethread the belt around the idler pulley and motor shaft. Once the belt is secured, stand up and rotate the drum to help better align the belt.
- Next, place the front panel back on the dryer, and add the screws to the inside of the dryer cabinet. Then, reconnect the door switch wire harness.
- Finally, flip the top panel back around, and push down on it to engage the locking tabs. Then, reinstall the screws located near the lint screen housing and slide the lint screen back into the slot.
- Plug-in your dryer and turn the gas back on. Load your dryer with wet clothes, and hit the start button to make sure your new support rollers fixed the scraping, squealing, or thumping noise your appliance was making before.
If your dryer is still making odd noises, please contact us today and we’ll be happy to diagnose and repair your appliance’s malfunction.

Apr. 09, 2024
How to Clear E24 Error on Bosch Dishwasher

Mar. 06, 2024
Samsung Dryer Not Heating Properly? (5 Fixes)

Feb. 05, 2024
Why Is Your Mini Fridge Not Cooling? (5 Potential Reasons)

Jan. 03, 2024
How to Fix Samsung Washer Error Code 4C

Dec. 11, 2023
How to Resolve UE Error Code on your LG Washer

Nov. 06, 2023
LG Washing Machine Error Codes: How to Fix Them

Oct. 02, 2023
How to Unlock LG Oven Door (After Self-Cleaning)

Sep. 08, 2023
How to Fix LG Washer DE Error Code

Jul. 31, 2023
Why Your Microwave Is Not Working

Jul. 19, 2023
The Quick Guide To Using a GE Self-Cleaning Oven

Jun. 13, 2023
How to Clean Your Dishwasher with Vinegar

May. 08, 2023
How to Fix a Noisy Refrigerator

Apr. 10, 2023
How to Remove Frost Build-up from the Freezer

Mar. 14, 2023
5 Ways To Clean Your Microwave Naturally

Feb. 01, 2023