

January 10, 2020
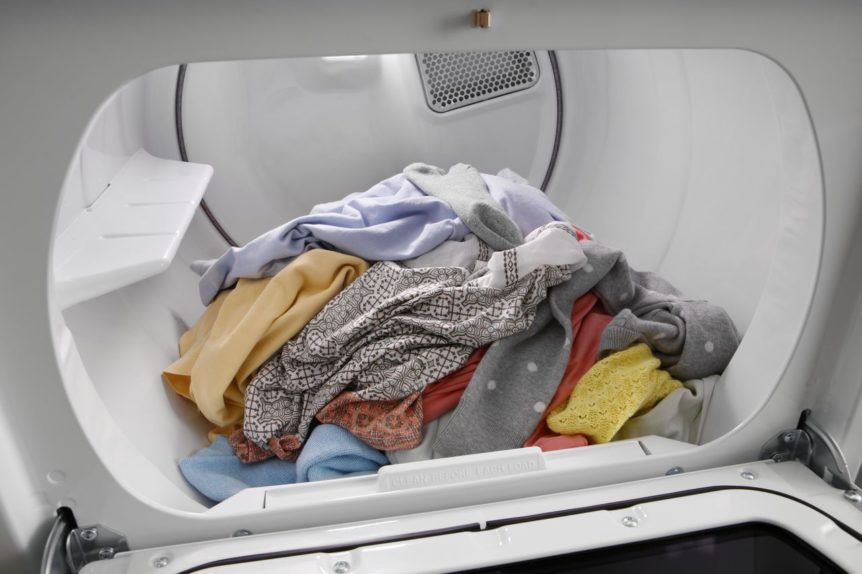
Dryer Repair
If your dryer just plain old isn’t working, one of the least suspected culprits is the lowly door switch. This small piece is responsible for sensing when the door is open or closed. When the door switch isn’t activated, it will not allow the dryer to start since it believes the door is open. This means that if your door switch is faulty or has somehow broken, your dryer isn’t going to work. If this is the case, here is how you replace it.
The door switch is replaced by removing the top of your washer. If it has a top-based lint screen, this will need to be unscrewed and removed. Otherwise, the top of your dryer can be removed via the locking clips in the front. You do not need to take it fully off, which would mean disconnecting the wires to the control panel. Ideally, you will want someone to hold it open or to lean it against a wall since this repair is done rather quickly.
Once open, you will be able to see the door switch assembly. You can unhook the wire harness connected to it. You will now want to open the door to your dryer and remove the two screws on either side of the switch. You can then pull it out through the back and install the new door switch. Once you have secured the screws and attached the wire harness, your dryer top can be lowered. The new switch should be tested to see if your dryer will now start.
While replacing a dryer door switch is easy, often diagnosing this problem is the hard part. If you can’t figure out what is wrong with your appliances or don’t know how to repair an issue that is, contact us today to see what Central Valley Appliance Repair can do to help.

Apr. 09, 2024
How to Clear E24 Error on Bosch Dishwasher

Mar. 06, 2024
Samsung Dryer Not Heating Properly? (5 Fixes)

Feb. 05, 2024
Why Is Your Mini Fridge Not Cooling? (5 Potential Reasons)

Jan. 03, 2024
How to Fix Samsung Washer Error Code 4C

Dec. 11, 2023
How to Resolve UE Error Code on your LG Washer

Nov. 06, 2023
LG Washing Machine Error Codes: How to Fix Them

Oct. 02, 2023
How to Unlock LG Oven Door (After Self-Cleaning)

Sep. 08, 2023
How to Fix LG Washer DE Error Code

Jul. 31, 2023
Why Your Microwave Is Not Working

Jul. 19, 2023
The Quick Guide To Using a GE Self-Cleaning Oven

Jun. 13, 2023
How to Clean Your Dishwasher with Vinegar

May. 08, 2023
How to Fix a Noisy Refrigerator

Apr. 10, 2023
How to Remove Frost Build-up from the Freezer

Mar. 14, 2023
5 Ways To Clean Your Microwave Naturally

Feb. 01, 2023