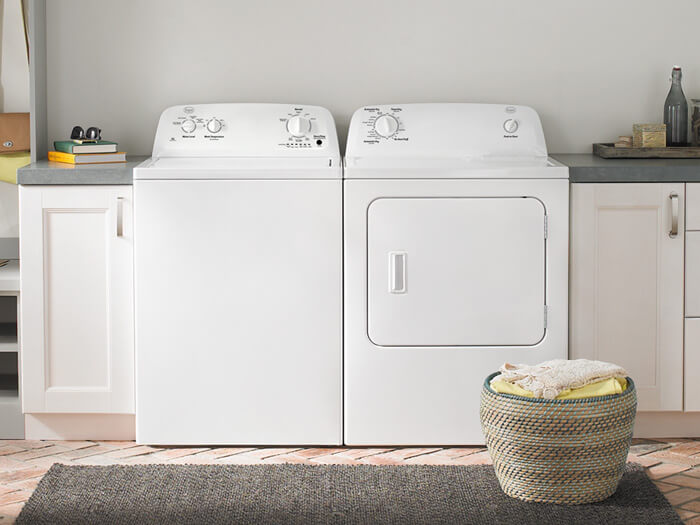
If the clothes coming out of your Roper dryer model RGD4516FWhave odd marks on them, and your appliance is louder than usual, the bearing rings, which sit on the top and bottom lip of your dryer are likely damaged. Replacing the rings is a simple repair job and should take you no more than an hour or two.
How to Replace the Bearing Rings in Your Roper Dryer
To avoid getting electrocuted, always unplug your dryer or switch it off at the circuit breaker before starting a repair. Protect your eyes and hands by wearing safety goggles and work gloves as you disassemble and reassemble your appliance.
- Take the lint filter out of its housing on your dryer’s main top. Unthread the screws found underneath the lint filter. At the left and right corner of your dryer, insert a putty knife between the top panel and front panel to disengage the locking tabs that hold the panels together. Then, lift the top panel up and rest it on your laundry room wall.
- Pull the wires running to the door switch apart, and unthread the two screws located on the inside of the front panel. With the screws removed, you can separate the front panel from the dryer by tilting it back and lifting it up and off the appliance.
- The damaged bearing rings are found on the top and bottom front lip of the dryer drum. To remove the top bearing ring, use a pair of needle nosed pliers to release the tabs securing the ring to the drum lip. Once all the tabs are free, take the top bearing ring off the drum. Then, rotate the drum to move the bottom bearing ring to the top. This makes removing the part easier. Once again, with needle nosed pliers, release the tabs holding the bearing ring in place. After the tabs are disengaged take the ring off the drum.
- Align the new bearing ring with holes in the lip of the dryer drum, and snap the part into place. Do the same thing with the second half of the bearing ring. Once the top and bottom rings are installed, you can start reassembling your dryer.
- Replace the front panel by lining up the bottom end of the panel with the mounting tabs on the dryer frame. Then, lift the dryer drum up and push the front panel into place. Reconnect the door switch wires, and rethread the screws that hold the front panel to the dryer. Lower the appliance’s main top, and insert the screws that secure the lint trap housing to the dryer To finish your repair, slide the lint trap back into its housing.
If your dryer is still making odd noises or mysterious marks continue to appear on your clothes, please contact us today to schedule an appliance repair appointment with one of our highly trained technicians.
How to Clear E24 Error on Bosch Dishwasher
Samsung Dryer Not Heating Properly? (5 Fixes)
Why Is Your Mini Fridge Not Cooling? (5 Potential Reasons)
How to Fix Samsung Washer Error Code 4C
How to Resolve UE Error Code on your LG Washer
LG Washing Machine Error Codes: How to Fix Them
How to Unlock LG Oven Door (After Self-Cleaning)
How to Fix LG Washer DE Error Code
Why Your Microwave Is Not Working
The Quick Guide To Using a GE Self-Cleaning Oven

How to Clean Your Dishwasher with Vinegar
How to Fix a Noisy Refrigerator
How to Remove Frost Build-up from the Freezer

5 Ways To Clean Your Microwave Naturally
