

February 4, 2022
Dryer Repair
The drive belt in a Whirlpool dryer is threaded around the dryer drum and two pulleys, the idler and motor pulley. The belt is responsible for making the dryer drum turn when the dryer is operating. Over time, the dryer belt can become loose and worn, and it may even break in half.
Accessing and replacing the dryer belt is a relatively easy repair if you follow the steps below. However, fitting the new dryer belt may take a little bit of practice. Making sure the replacement belt matches the dryer’s make and model number will also make installing the belt easier.
These instructions apply to a Whirlpool dryer with a lint trap on the top. However, they can be followed for other models, except the back panel may need to be removed instead of the front panel.
This guide can be used with most Whirlpool dryer models, including the following:
1LE4900XKW0
1LE4930XKW0
1LE5700XKW0
1LE5920XKW0
1LE7800XKW0
1LG5701XKW0
1LG5921XKW0
1LG9801XKW1
2LG5701XKW0
3CE2110XMW0
3CE2110XMW1
3CE2110XMW2
3CE2910XSN1
3CE2910XSW0
GEW9200LW1
GEW9250PW0
What you will need
- 5/16th nut driver or socket
- Phillips screwdriver
- Putty knife
- Flat-edge screwdriver
- Work gloves
Step 1: Disconnect the power
Before accessing the dryer’s belt, the power must be disconnected to avoid electric shocks and damaging electrical components.
Step 2: Unscrew the lint trap assembly
Many Whirlpool dryers have a lint trap on the top panel that can be removed by pulling it up and out. Once the lint trap is removed, the lint trap assembly needs to be unscrewed so that the top panel of the dryer can be taken off.
The lint trap assembly has two screws, which should be removed and put somewhere safe. Be careful when removing screws during this repair, as losing a screw in the dryer can be frustrating and time-consuming to find.
Step 3: Remove the top panel
The top panel of the dryer is secured with locking tabs, which can be depressed with a putty knife. The locking tabs are located in the two front corners of the top panel.
Slide the putty knife under the top panel for each of the two front corners. The putty knife needs to push against the locking tab and then press upwards to release the tab and the top panel.
Once each locking tab has been depressed, you should be able to lift the front of the panel to reveal the dryer drum.
Step 4: Release the door switch wiring harness
The dryer has a door switch that is designed to shut the dryer off when the dryer door is opened. The door switch wiring harness is usually located on the inside, front side of the dryer, above the door and drum.
A flat-edge screwdriver can be used to release the clip and disconnect the wiring harness.
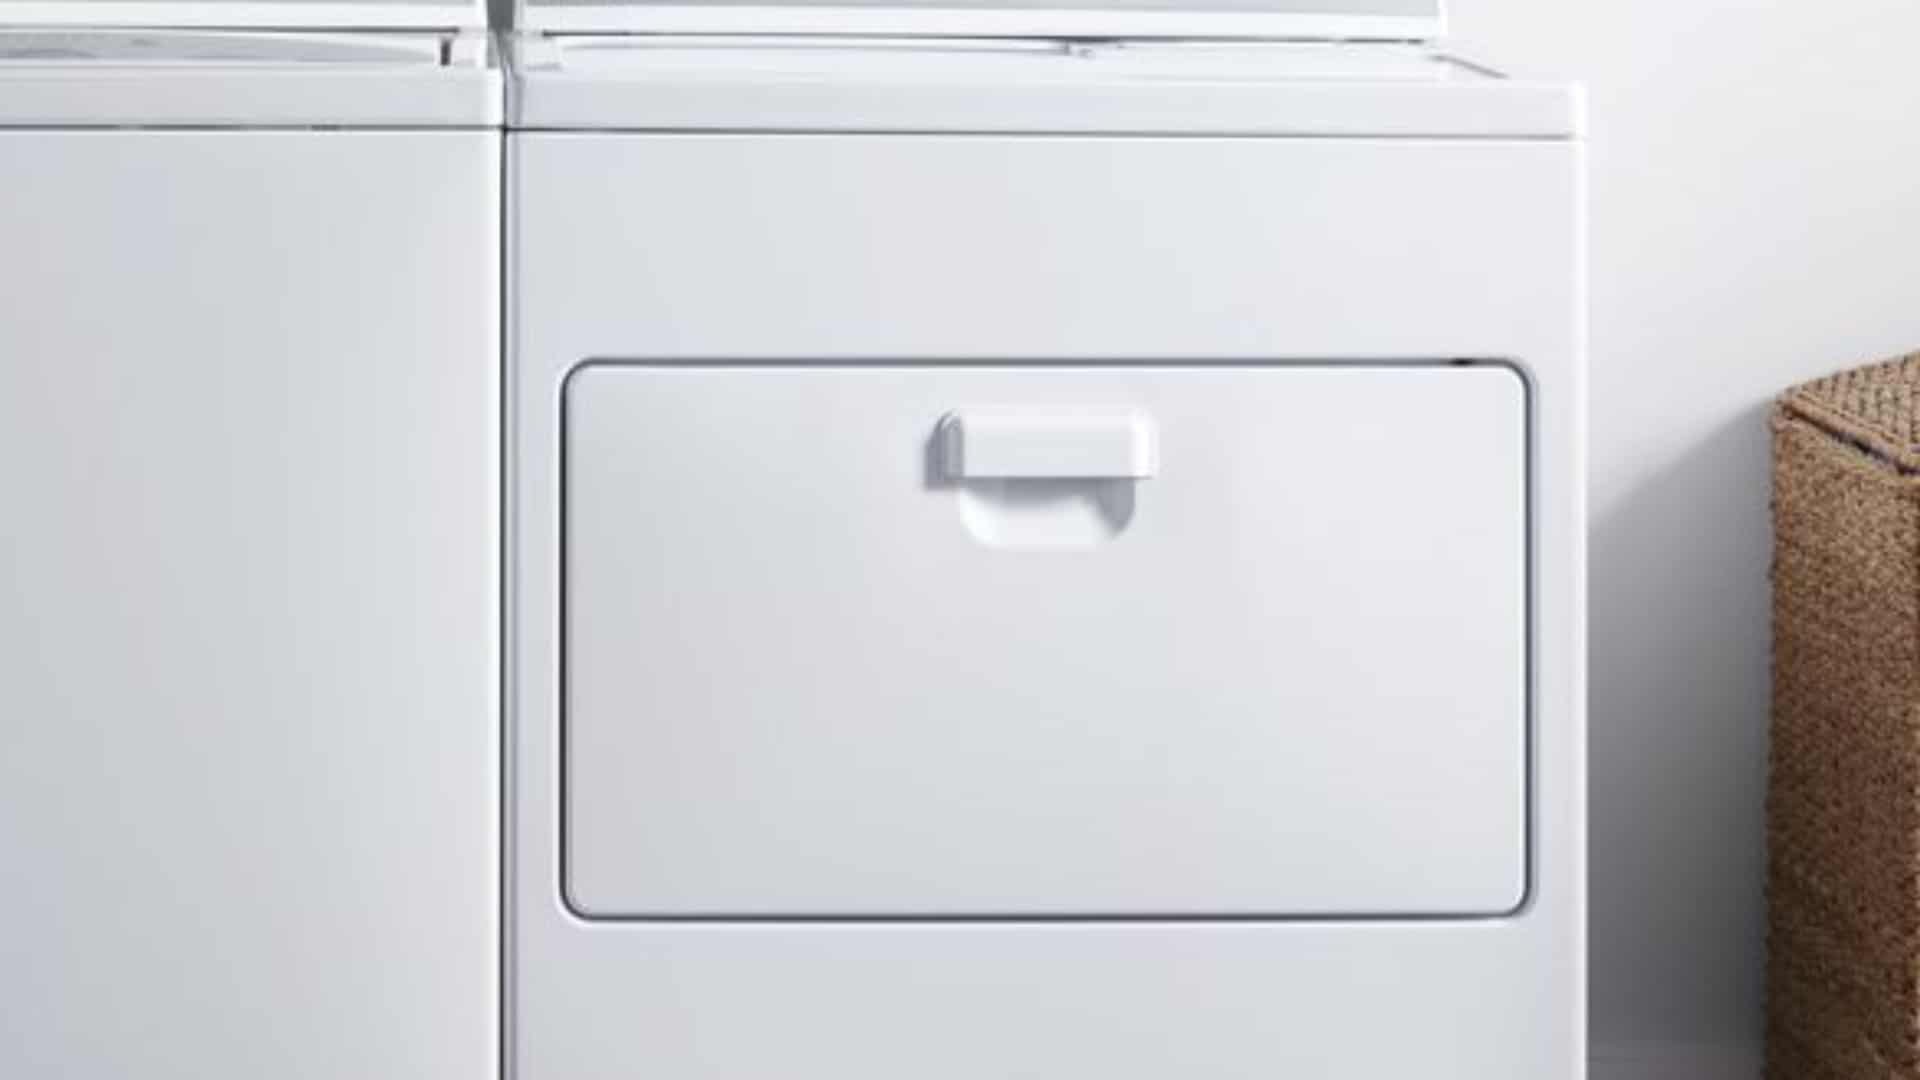
Step 5: Remove the screws that secure the front panel
The front panel of the dryer is secured with two screws, one on each side of the top of the front panel. The bottom of the panel is secured with a clip on each side.
With most Whirlpool dryers, the 5/16th nut driver or socket can be used to remove the front panel screws. Once you have removed the screws, put them somewhere safe.
Step 6: Remove the front panel
Once you have removed the front panel’s screws, you should be able to lift the front panel off the tabs that secure it at the bottom.
If your model has two panels, the door panel, and a smaller lower access panel, use the putty knife to get behind the access panel and pop it out.
When you remove the lower access panel, you should see two springs that will need to be removed. Then, there should be two screws that help secure the panel. The screws need to be loosened, not removed, to allow you to remove the lower access panel.
Step 7: Remove the old belt
If the belt has not broken, it will need to be removed by pushing the idler pulley towards the outside of the dryer, which should remove the tension and allow the belt to be pulled off.
Step 8: Position the belt on the drum
Make sure the belt is not twisted, and then fit the new belt around the dryer drum. The groove side of the belt should face the dryer drum.
The belt will likely need to be slid back on the drum to where it was before, usually indicated by marks left by the old belt on the drum. If the belt is not in the same position as the old belt, it will struggle to align with the idler and motor pulley.
Step 9: Secure the belt
With the belt around the drum, it now needs to wrap around the idler and motor pulleys to secure it on the drum.
Lift the idler pulley and push it towards the side of the dryer. Next, thread the belt around the motor pulley.
Then create a loop with the belt and thread it over the idler pulley. The belt should not be in a circle around the pulleys; it should wrap around the motor pulley and then up and over the idler pulley in an S-like shape.
As stated above, threading the belt can take some practice. If the instructions above are not working, try threading the belt around the idler pulley first. The ease of threading the belt can also vary depending on the model and the type of belt required.
Step 10: Test the belt
If you rotate the drum, it should confirm that the belt is centered on the pulleys and is working correctly.
Conclusion
With the new belt secured to the drum and wrapped around the idler and motor pulleys, you can now reassemble the dryer.

Apr. 09, 2024
How to Clear E24 Error on Bosch Dishwasher

Mar. 06, 2024
Samsung Dryer Not Heating Properly? (5 Fixes)

Feb. 05, 2024
Why Is Your Mini Fridge Not Cooling? (5 Potential Reasons)

Jan. 03, 2024
How to Fix Samsung Washer Error Code 4C

Dec. 11, 2023
How to Resolve UE Error Code on your LG Washer

Nov. 06, 2023
LG Washing Machine Error Codes: How to Fix Them

Oct. 02, 2023
How to Unlock LG Oven Door (After Self-Cleaning)

Sep. 08, 2023
How to Fix LG Washer DE Error Code

Jul. 31, 2023
Why Your Microwave Is Not Working

Jul. 19, 2023
The Quick Guide To Using a GE Self-Cleaning Oven

Jun. 13, 2023
How to Clean Your Dishwasher with Vinegar

May. 08, 2023
How to Fix a Noisy Refrigerator

Apr. 10, 2023
How to Remove Frost Build-up from the Freezer

Mar. 14, 2023
5 Ways To Clean Your Microwave Naturally

Feb. 01, 2023