

September 16, 2018
Dryer Repair
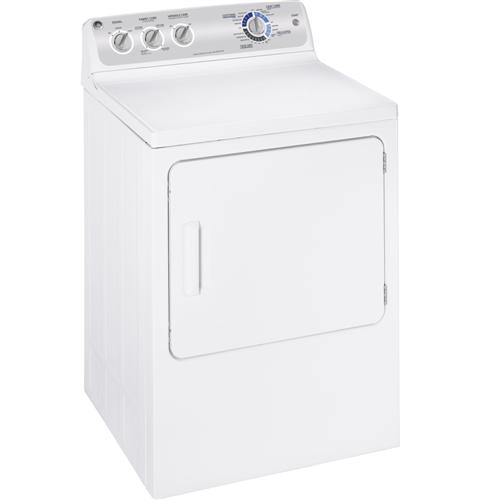
The timer in your GE dryer model GRDN510EMWS controls the various functions of your appliance. The motor on the back of the timer moves the dial, which manages how much time is left in the cycle and regulates the temperature and moisture control functions. If the dial is not advancing, your dryer won’t progress through the cycle. A malfunctioning timer can also cause your dryer to not start or stop, and it may interfere with the heating element turning on and off. Replacing the defective timer is a fairly simple repair and shouldn’t take much time at all.
How to Replace the Timer in Your GE Dryer
To avoid electrocution, unplug your dryer or turn it off at the circuit breaker. Always wear protective gloves and eyewear during a repair appliance repair job.
-
Start your repair by removing the timer knob from the front of the dryer console. If you’re having a hard time taking it off, use a string or wire to get behind the knob and pull it off the control panel.
-
Move to the back of the dryer and unthread the screws securing the console to the appliance. Move the console to the side to detach from the top panel. Once it’s loose, lay it down on the top of your dryer so it is out of your way.
-
Before detaching the old dryer timer, take a picture of it to record the placement of the wires. Lift the tab on the side of the timer and rotate the part counter-clockwise to remove it from the control panel. Disconnect the wires from the faulty timer and completely remove the part from your dryer.
-
Now you can install your new dryer timer. Consult the picture you took earlier to properly connect the wires to the timer. After all the connections are secure, insert the timer into the console and turn it clockwise to attach it.
-
Rotate the control panel up and slide it over to engage the locking tabs. Once the panel is in the proper position, reattach the screws to the back of the appliance to secure the console to your dryer. Reconnect the timer knob to finish your repair.
-
Plug-in your appliance and throw in a load of wet garments to test your new timer.
If replacing the timer did not fix your dryer’s malfunction, or you’re concerned about another appliance in your home, please contact us today and we’ll be happy to answer your questions.

Apr. 09, 2024
How to Clear E24 Error on Bosch Dishwasher

Mar. 06, 2024
Samsung Dryer Not Heating Properly? (5 Fixes)

Feb. 05, 2024
Why Is Your Mini Fridge Not Cooling? (5 Potential Reasons)

Jan. 03, 2024
How to Fix Samsung Washer Error Code 4C

Dec. 11, 2023
How to Resolve UE Error Code on your LG Washer

Nov. 06, 2023
LG Washing Machine Error Codes: How to Fix Them

Oct. 02, 2023
How to Unlock LG Oven Door (After Self-Cleaning)

Sep. 08, 2023
How to Fix LG Washer DE Error Code

Jul. 31, 2023
Why Your Microwave Is Not Working

Jul. 19, 2023
The Quick Guide To Using a GE Self-Cleaning Oven

Jun. 13, 2023
How to Clean Your Dishwasher with Vinegar

May. 08, 2023
How to Fix a Noisy Refrigerator

Apr. 10, 2023
How to Remove Frost Build-up from the Freezer

Mar. 14, 2023
5 Ways To Clean Your Microwave Naturally

Feb. 01, 2023