

March 9, 2020
Dishwasher Repair
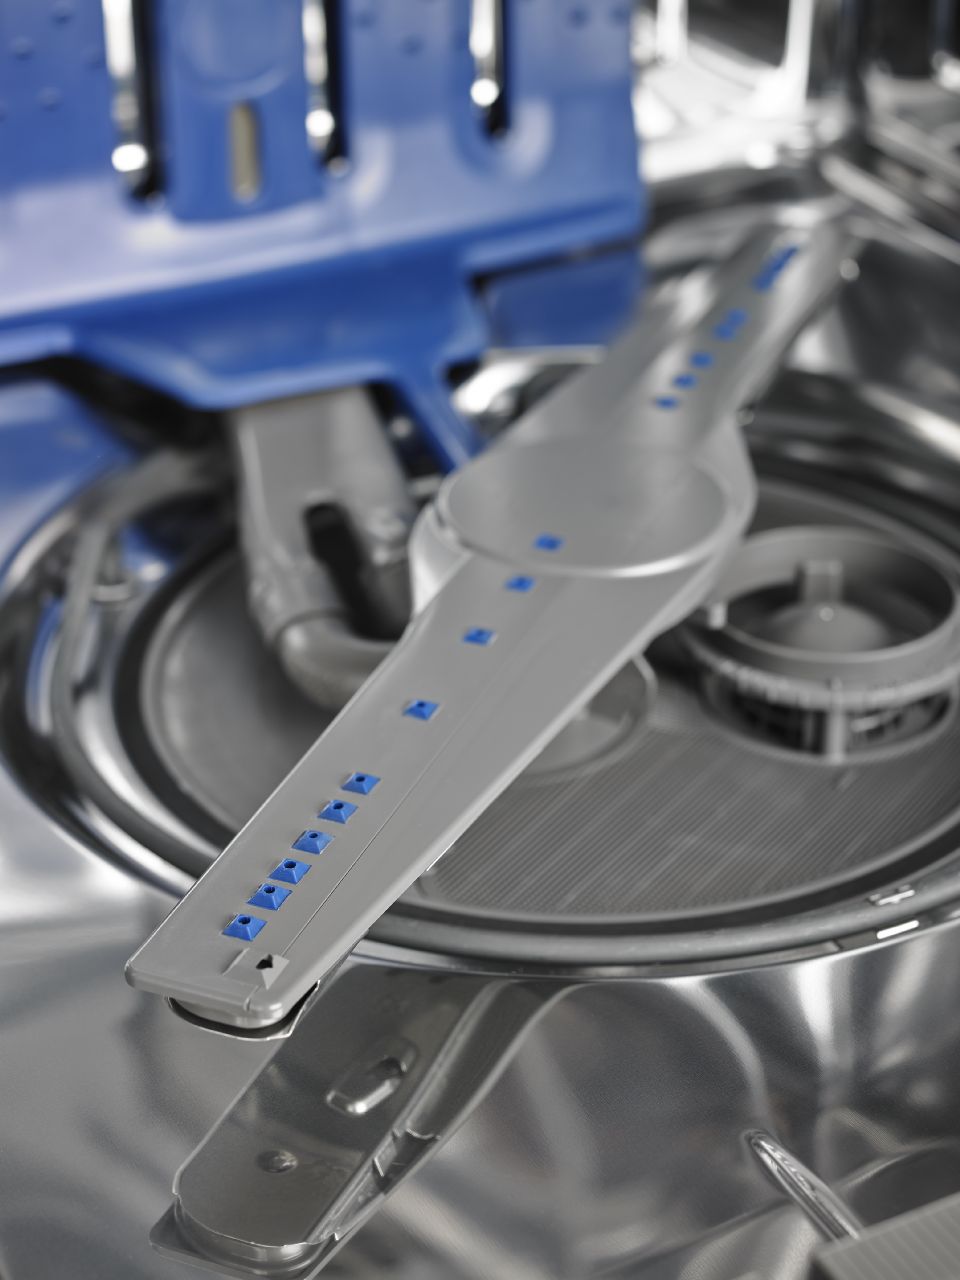
The sprayer arms in your dishwasher are how it works its magic. Without the sprayer arms, jetting water wouldn’t hit your dishes and they would not effectively be cleaned. So if you’re noticing that your dishes have stopped coming out clean, a good place to start looking is the sprayer arms. You may determine that one or both are no longer functioning properly and may need to be cleaned, repaired, or replaced.
Today, we’ll cover all three.
Quick Fixes
You may not necessarily have to fully replace your sprayer arms if they are acting up. There are three things you can do to repair sprayer arms without replacing them.
- Check for Blockage
Take a close look to see if there’s anything blocking the spin of the arms.
- Clean the Arms
Wipe down the sprayer arms with soapy water and/or vinegar and spray down the spinning joint. There may simply be built-up soap scum, water scale, or food residue in the way of proper function.
- Clear the Holes
If your home runs hard water, it’s possible the sprayer nozzle holes are just clogged with water residue or “scale” which is a chalky mineral that hard water leaves behind. Use a paperclip and vinegar to clear the holes and see if this fixes your problem.
Gather Your Supplies
If you’re going ahead with the repair, start by getting together any supplies you might need. Remember that not all dishwashers are the same, but usually, a sprayer arm repair requires little to no tools. If you’ve determined you need a new sprayer arm (or two) then be certain to have the correct replacement parts ready before you begin.
- Work Gloves (optional)
- Pipe Wrench (usually optional)
- Replacement Sprayer Arm(s)
Take Safety Precautions
The dishwasher is both an electrical and water-supplied appliance. This means it’s important to know when to shut off one or the other before starting a repair. For the sprayer arms, you will only need to worry about water for now.
- Turn Off the Water Supply
The sprayer arms are each connected to water supplies so they can spray. Just in case, you’ll want to twist the shutoff valve to make sure you don’t get soaked or cause a big puddle during this repair.
- Wear the Safety Gloves
If you run into a step that is difficult to do with just your hands, slip on a pair of work gloves to protect your hands from wrenching tightly fastened connections.
Empty the Dishwasher Completely
To remove the sprayer arms, you’ll need access.
- Remove All Dishes
Take all dishes and silverware out of the dishwasher, clean or otherwise.
- Remove Upper and/or Lower Dish Racks
If you’re working on the upper sprayer arm, you’ll need to remove the upper dish rack. Likewise, to work on the lower sprayer arm remove the lower dish rack. You may find it easier to work by removing both for either repair.
To remove a dish rack, you’ll need to flip open the clips at the end of each sliding track. Then pull the rack all the way out and set it aside. Then push the sliding tracks back in out of your way.
- Clear Any Debris
If you can now see debris of any kind in the dishwasher, clear it out. Debris may have been contributing to your problem.
Replacing the Upper and Lower Sprayer Arms
The process for removing the upper or lower sprayer arms is almost identical, so we have combined the instructions with minor differences for one process or the other.
- Twist the Fastening Nut Counter-Clockwise
Each sprayer arm is secured by a fastening nut at its base. Naturally, this nut is above for the upper arm and below for the lower arm. Open the nut by turning it counter-clockwise.
In many models, this nut twists open easily with your fingers. In many models, this nut is actually a small wheel designed to easily twist open with the fingers. However, if you have an older model, or the nut is stubbornly stuck, you may need to wear work gloves and/or use a pipe wrench to pry it loose.
- Unfasten the Sprayer Arm
Once the nut is unfastened, the sprayer arm should pull away. For some models, you will also need to remove the non-integral gasket ring. Set all of this aside.
- Decide to Clean or Toss
Take a close look at your sprayer arm. There’s a good chance the arm doesn’t need to be replaced, just cleaned thoroughly and put back into action. If the spinning joint is crunchy, if the nozzle holes look crusted over, try soaking the sprayer arm in soapy water or vinegar. Soapy water will deal with food residue; vinegar will melt chalky water residue from hard water.
After cleaning, decide whether to reinstall the old sprayer arm or toss it and replace with a new one.
- Align the New/Clean Sprayer Arm
With the sprayer arm you’re reinstalling, start by aligning the arm with its socket. Return the gasket and nut to their proper places, if necessary.As a bonus note, some dishwasher models have an all-one-piece sprayer arm, and some have arms that fit into the sprayer arm base. This may need to be considered if replacing a sprayer arm, or the entire sprayer assembly.
- If Upper: Adjust Inlet Tube
If you are working with the upper sprayer arm, you may need to adjust the inlet tube. It should be about 1/4 inch into the aperture. Be very careful not to push it in further as you install the upper sprayer arm. If it does get pushed in, you can use your fingers or needle-nose pliers to put the inlet tube back in position.
- If Lower: Push Down Firmly
If you are working with the lower sprayer arm, you may need to press down firmly so that the sprayer base sets into place.
- Secure the Fastening Nut
Twist the fastening nut clockwise to tighten it into place. Be sure to twist firmly so that the connection forms a seal, but do not over-tighten or you may tear the sealing gaskets.
- Spin to Test
Push the newly installed sprayer arm with your finger to ensure that it is both secure and that it spins freely.
Reassemble the Dishwasher
Now you’re ready to reassemble your dishwasher and run a test load.
- Return the Dish Racks
Pull out the dishwasher tracks, ensuring that the end clips are still open. Carefully align the removed dish rack(s) with their tracks and slide the wheels into the track slot. Close the end clips when the rack is fully in place, then slide the rack in.
- Turn the Water Back On
It is now safe to turn the water back on for your dishwasher now that the sprayer arms are fully reconnected.
Run a Test Load
As a final test of your victory, run a test load to see if the sprayer arms are functioning and cleaning your dishes properly. If all goes well, congratulations! You have just completed an important repair for your dishwasher.
—For more complex or electrical repairs that you’d rather have handled by a professional technician, contact us today!

Apr. 09, 2024
How to Clear E24 Error on Bosch Dishwasher

Mar. 06, 2024
Samsung Dryer Not Heating Properly? (5 Fixes)

Feb. 05, 2024
Why Is Your Mini Fridge Not Cooling? (5 Potential Reasons)

Jan. 03, 2024
How to Fix Samsung Washer Error Code 4C

Dec. 11, 2023
How to Resolve UE Error Code on your LG Washer

Nov. 06, 2023
LG Washing Machine Error Codes: How to Fix Them

Oct. 02, 2023
How to Unlock LG Oven Door (After Self-Cleaning)

Sep. 08, 2023
How to Fix LG Washer DE Error Code

Jul. 31, 2023
Why Your Microwave Is Not Working

Jul. 19, 2023
The Quick Guide To Using a GE Self-Cleaning Oven

Jun. 13, 2023
How to Clean Your Dishwasher with Vinegar

May. 08, 2023
How to Fix a Noisy Refrigerator

Apr. 10, 2023
How to Remove Frost Build-up from the Freezer

Mar. 14, 2023
5 Ways To Clean Your Microwave Naturally

Feb. 01, 2023